North America

CaliforniaNorth America

How to get from LAX to Disneyland for under $21

lax1

Traveling from LAX to Disneyland on a budget is easier than you think! This guide breaks down the most affordable and comfortable route using the public transportation to get to Anaheim. With step-by-step instructions, fare details, and travel tips, you’ll be on your way to the happiest place on Earth without spending a fortune. The extra money saved in transportation can be put towards making your Disneyland adventure even more magical!

Full disclosure: On this travel guide I will reference separate websites I used for my trip through different travel agencies. I have not been paid or sponsored to post this content. The content below is purely based off my experience during my time there and using the services.


The Problem

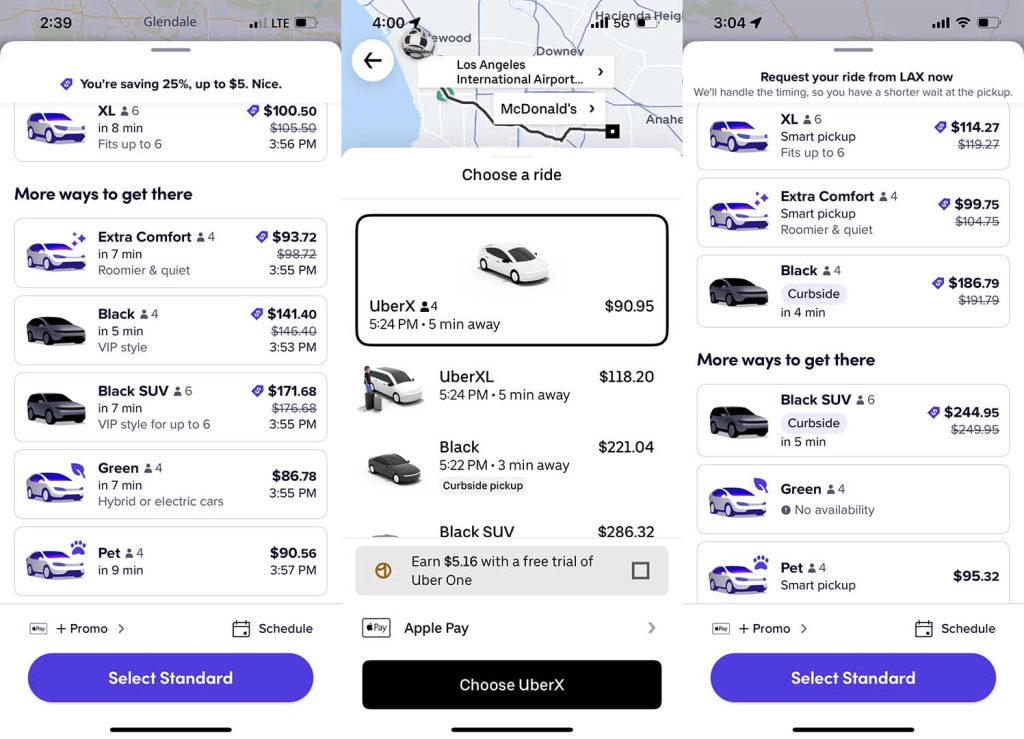
Imagine you’re a foreigner/tourist and this is your first time to California. You just landed at LAX because it was cheaper than landing in SNA John Wayne Airport (smaller airport closer to Disneyland). You know that you’re going to have to take a Uber/Lyft to get to your vacation destination which is Disneyland. Problem is the cheapest flight was from your hometown to LAX. You open up the Uber/Lyft app to check taxi rates and you realize it will cost you around $90-150 USD (without tip included).

That was exactly my situation. My hometown is near Disneyland and my flight landed at LAX around peak hours around 4-5pm. Normally if Uber/Lyft is around $40-50 USD I’d just bite the bullet and take the hit. But this time it was astronomically expensive. That got me thinking, as a solo traveler how would someone get from LAX to Disneyland comfortably and cheaply? Public transportation isn’t really a big thing in California since everyone prefers to drive and sit in traffic. If you are a solo traveler this method works great when traveling alone. If you’re with a group of people it might actually be worth it to split Uber/Lyft Taxi costs since the more people in the car decreases the cost. For me, since I solo travel around frequently this method works great for me. My hope is that I can help my fellow travelers who may happen to stumble upon this blog when planning their trip to Los Angeles anytime soon!

Step 1: LAX FlyAway Bus to Union Station

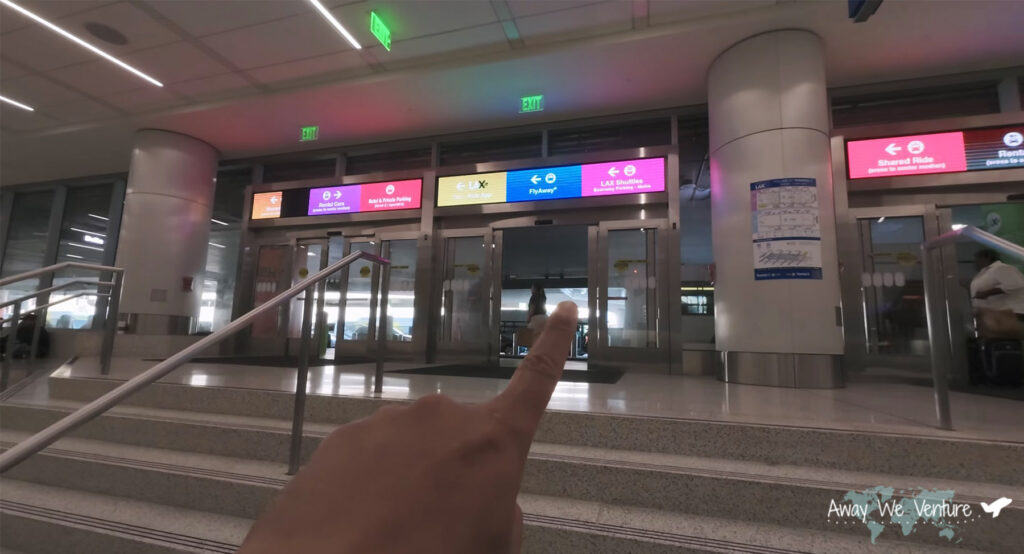
I honestly never looked into public transportation so I never heard of the LAX FlyAway Bus. The bus has been running for many years and is considered one of the best kept secrets for getting to the airport cheaply and comfortably. The first step in getting to the Disneyland area is looking for the LAX FlyAway Bus at the Arriving Terminals at LAX.

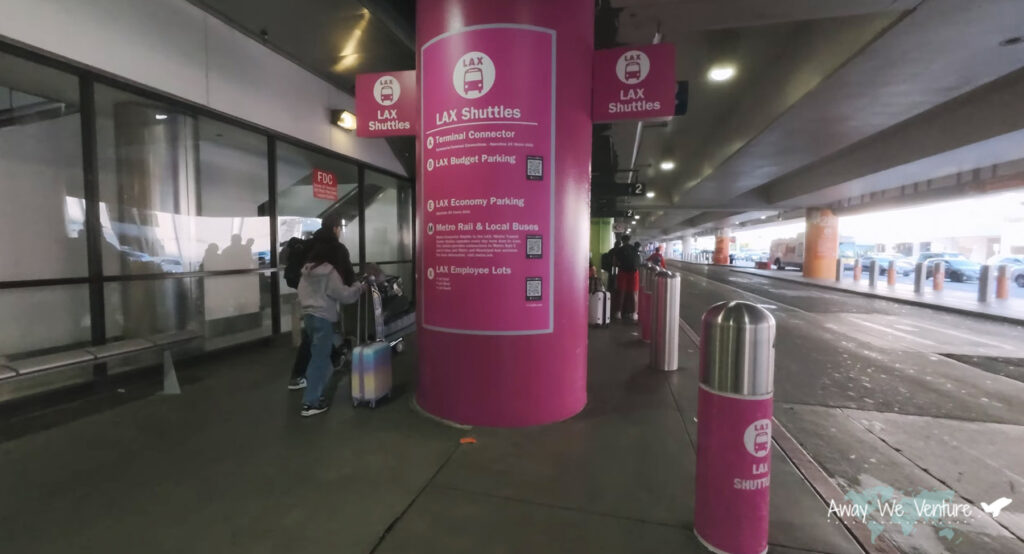
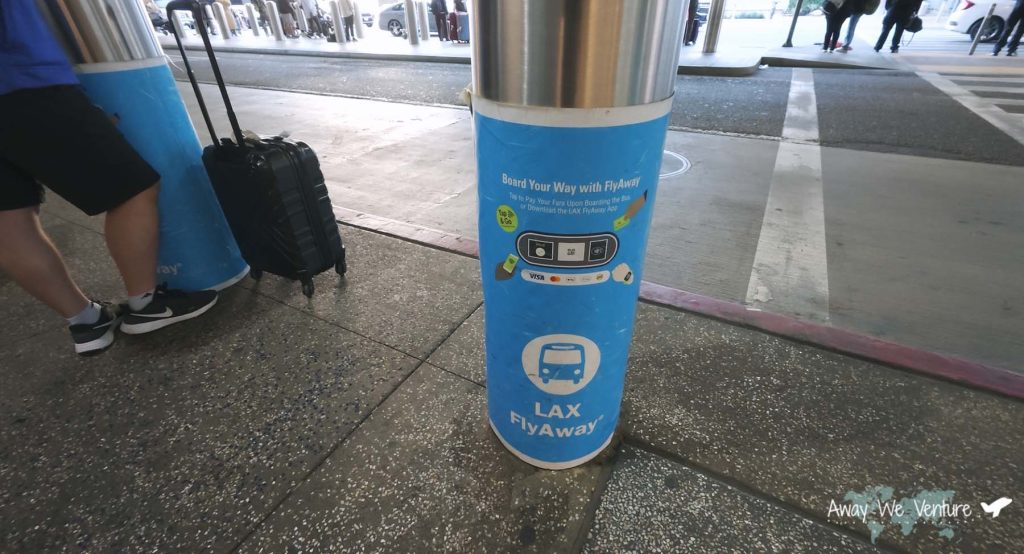
A normal trip from LAX to LA Union Station will take 50 minutes to an hour depending on traffic conditions. The trip will cost you around $9.75 USD at the time I’m writing this blog. You will find pillars and signs outside the drop off area like this:

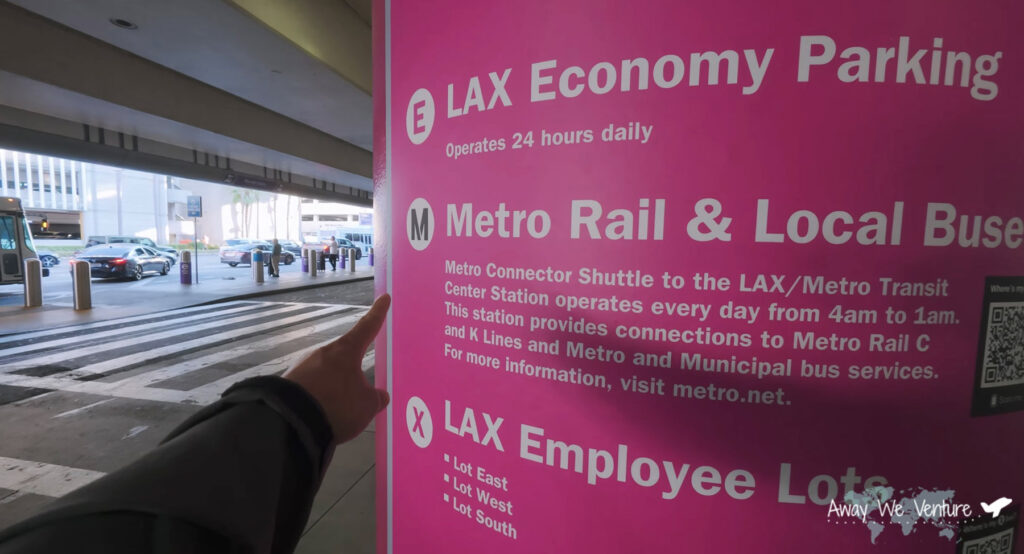
LAX FlyAway Bus Passenger Pickup Terminals

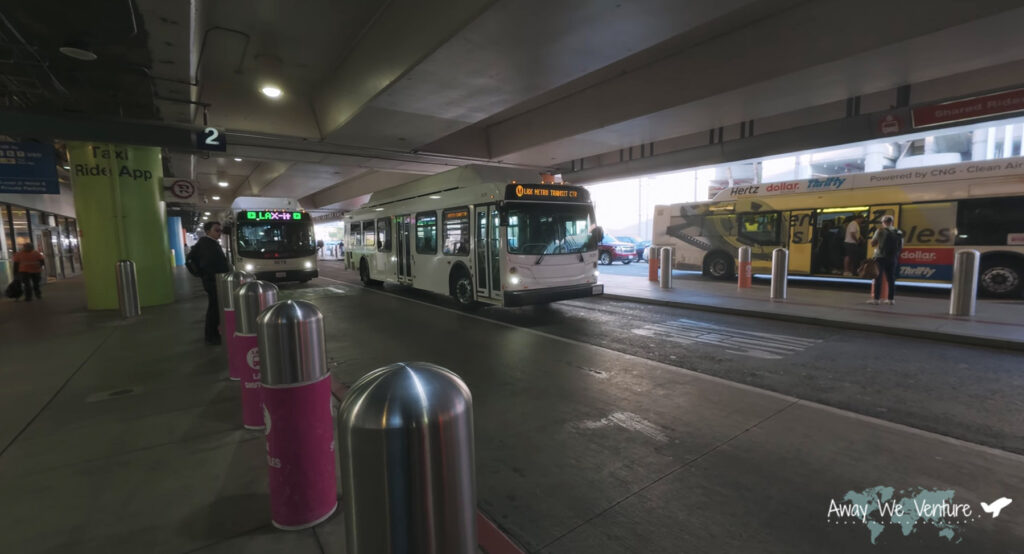
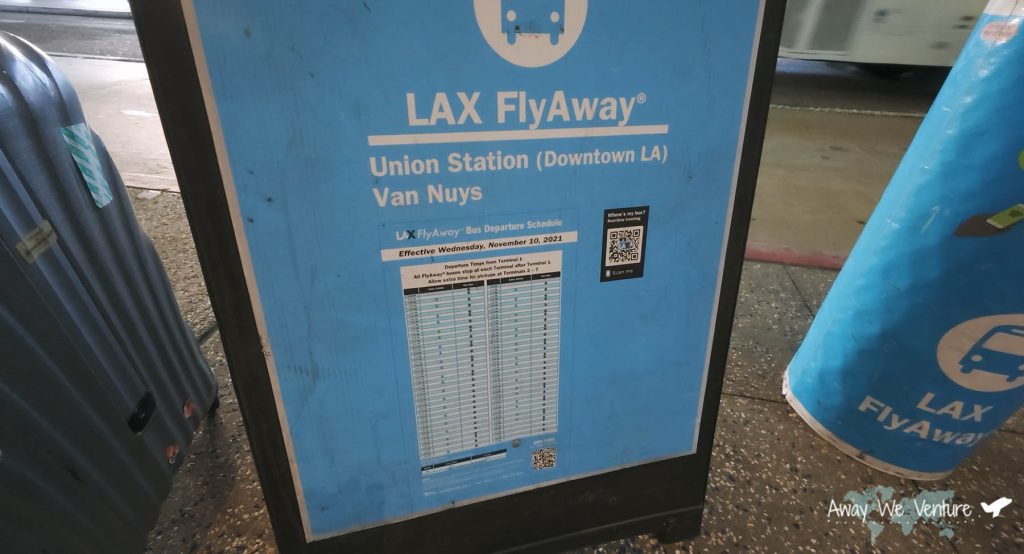
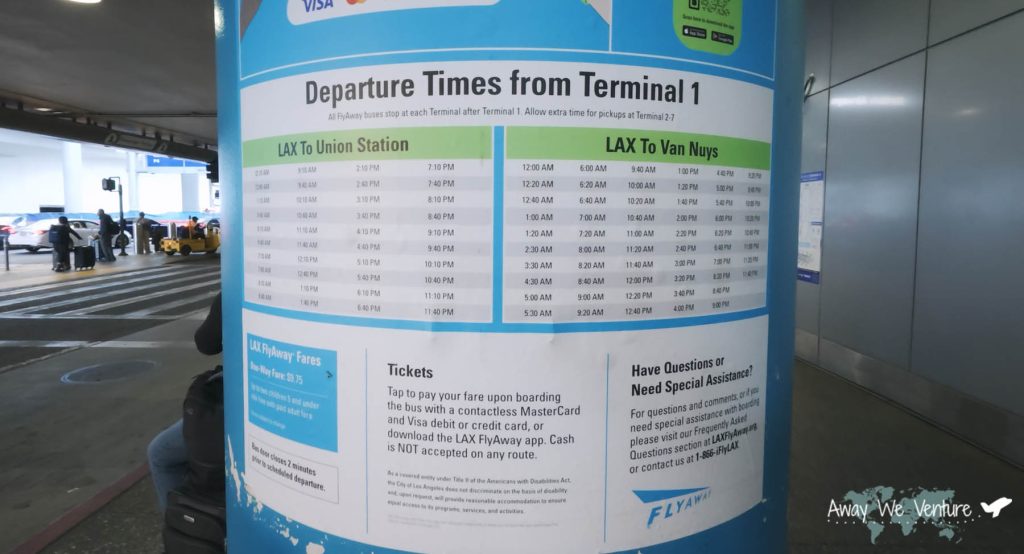
There are two buses that run simultaneously. You want to take the bus that goes to LA Union Station. You DO NOT want to take the one that goes to Van Nuys because that will be the opposite direction of where you want to go. Even if you miss the bus they’ll keep running in intervals of 30 minutes each almost 24 hours in a day. The buses make their rounds picking up passengers at:

  • LAX Passenger Pickup Terminals
    • LAX Terminal 1 Lower Level
    • LAX Terminal 2 Lower Level
    • LAX Terminal 3 Lower Level
    • LAX Terminal B Lower Level
    • LAX Terminal 4 Lower Level
    • LAX Terminal 5 Lower Level
    • LAX Terminal 6 Lower Level
    • LAX Terminal 7 Lower Level

There will also be sign placards placed. You can also check the LAX FlyAway Bus Live Shuttle Tracker to see when the bus will arrive at your terminal

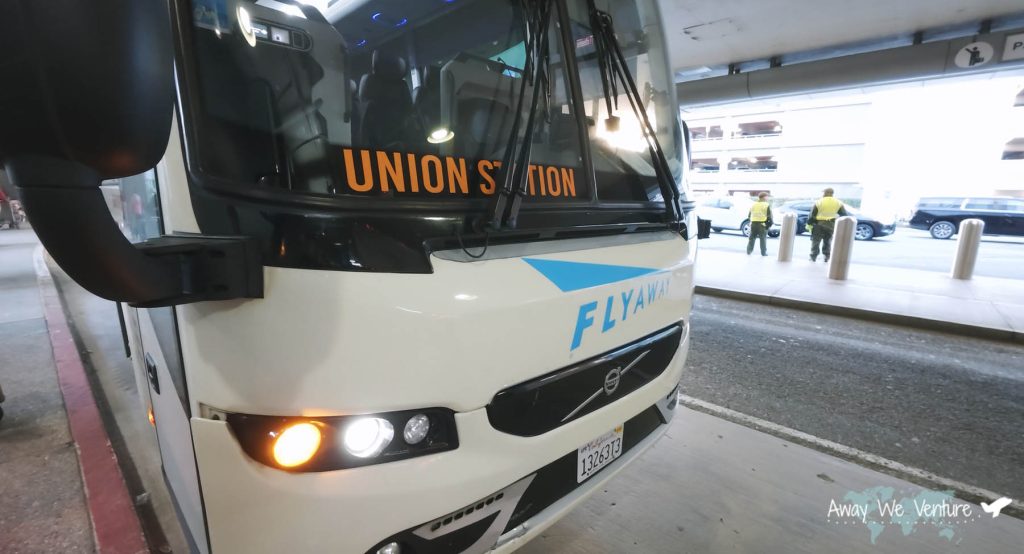
You can check the big sign in front of the bus to ensure you are going to Union Station. The bus is your typical tour bus and the operator will come out and help load the luggage below the bus.

Paying for the Bus

There are several ways you can pay for the bus ride (one way):

  • Credit Card (Tap to Pay)
  • QR Code Ticket from the FlyAway Bus App

They DO NOT take Cash and the price at the time of this post is $9.75 USD / one way

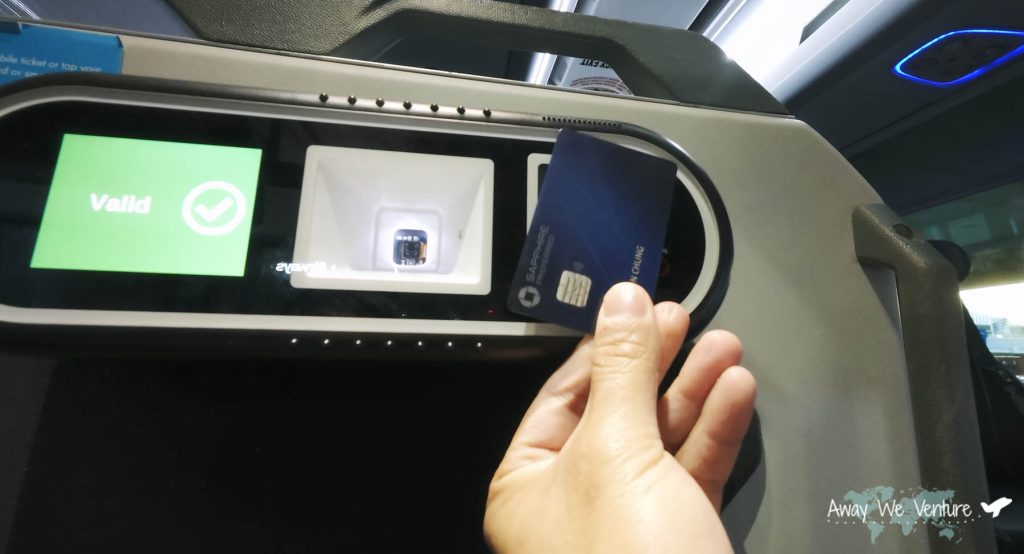
At the time I didn’t know if the bus was going to be full so I decided not to buy my bus ticket on the FlyAway Bus app. I instead opted for the Credit Card (Tap to Pay) and it worked perfectly. The operator will instruct you to tap your credit card near the NFC terminal to pay for your fare. When you see the VALID with a green checkmark you are good to board!

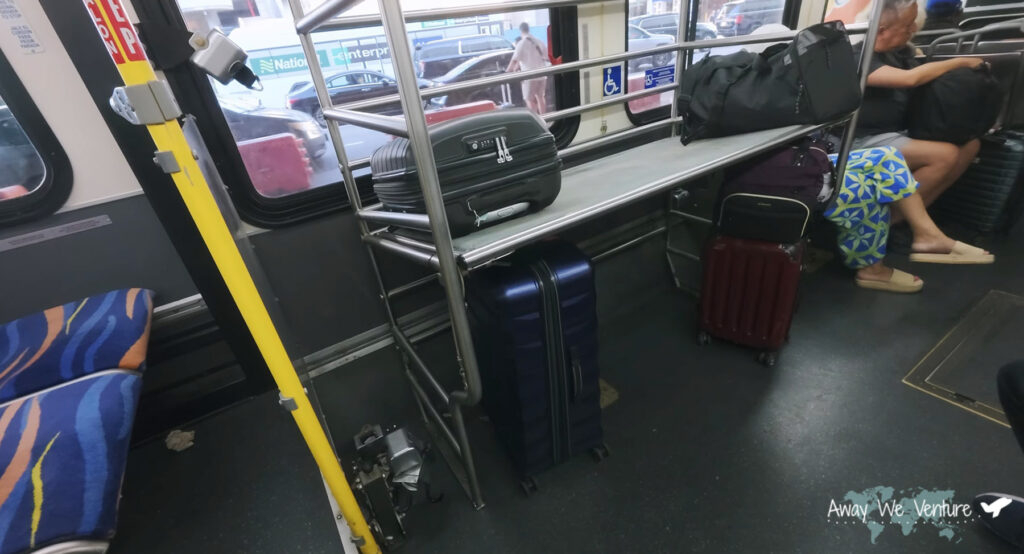
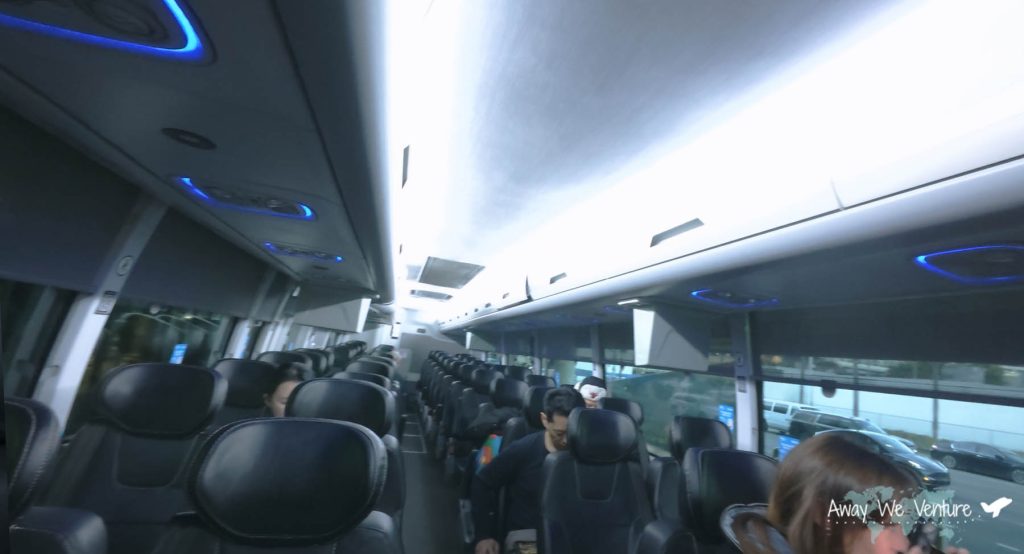
I was quite surprised that the bus wasn’t even filled to capacity even though I arrived a couple days before the holiday rush. The bus was spacious and there’s even compartments overhead for small carry on luggage if you didn’t want to put it underneath the bus

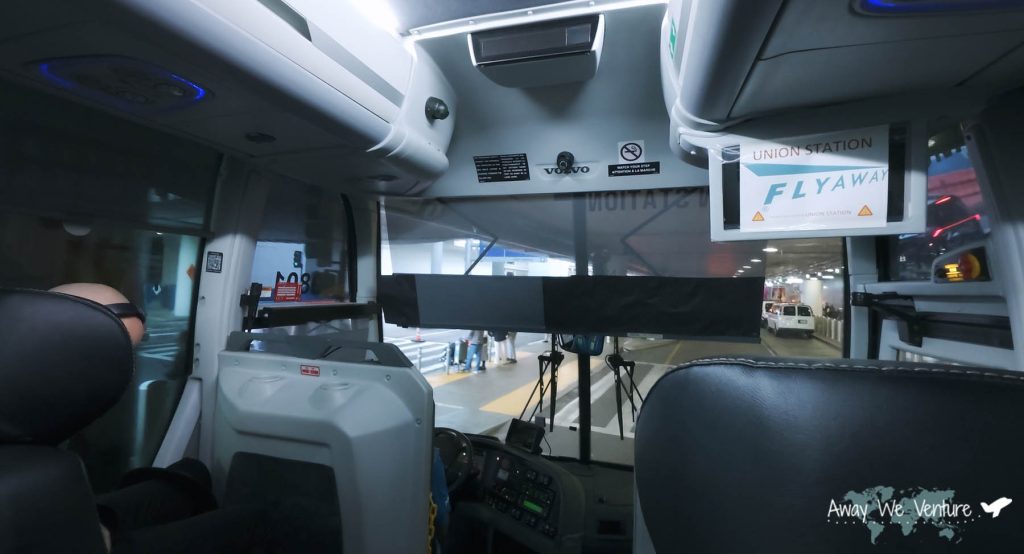
The bus will go around the entire LAX horseshoe picking up passengers, but once everyone is picked up the ride will be pretty fast.

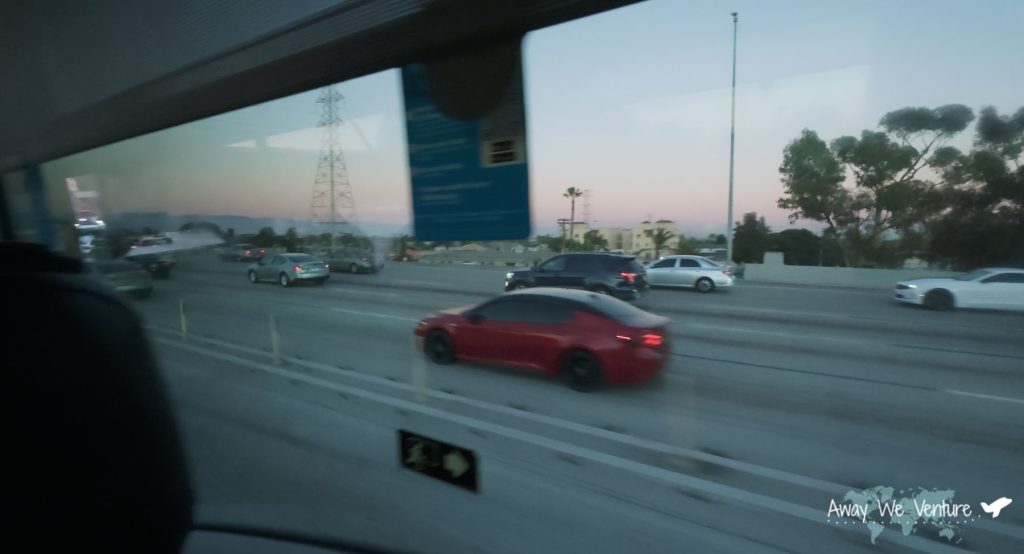
If there’s one thing that shocked me the most it was the fact that the bus actually takes the 101 freeway FastPass lanes to get to LA Union Station. Normally during peak traffic hours the toll road is super expensive so usually the toll road express is not crowded up until the downtown exits. It honestly cut down the commute time a lot especially since this was during peak LA rush hour.

Step 2: LA Union Station to Anaheim ARTIC (Metrolink)

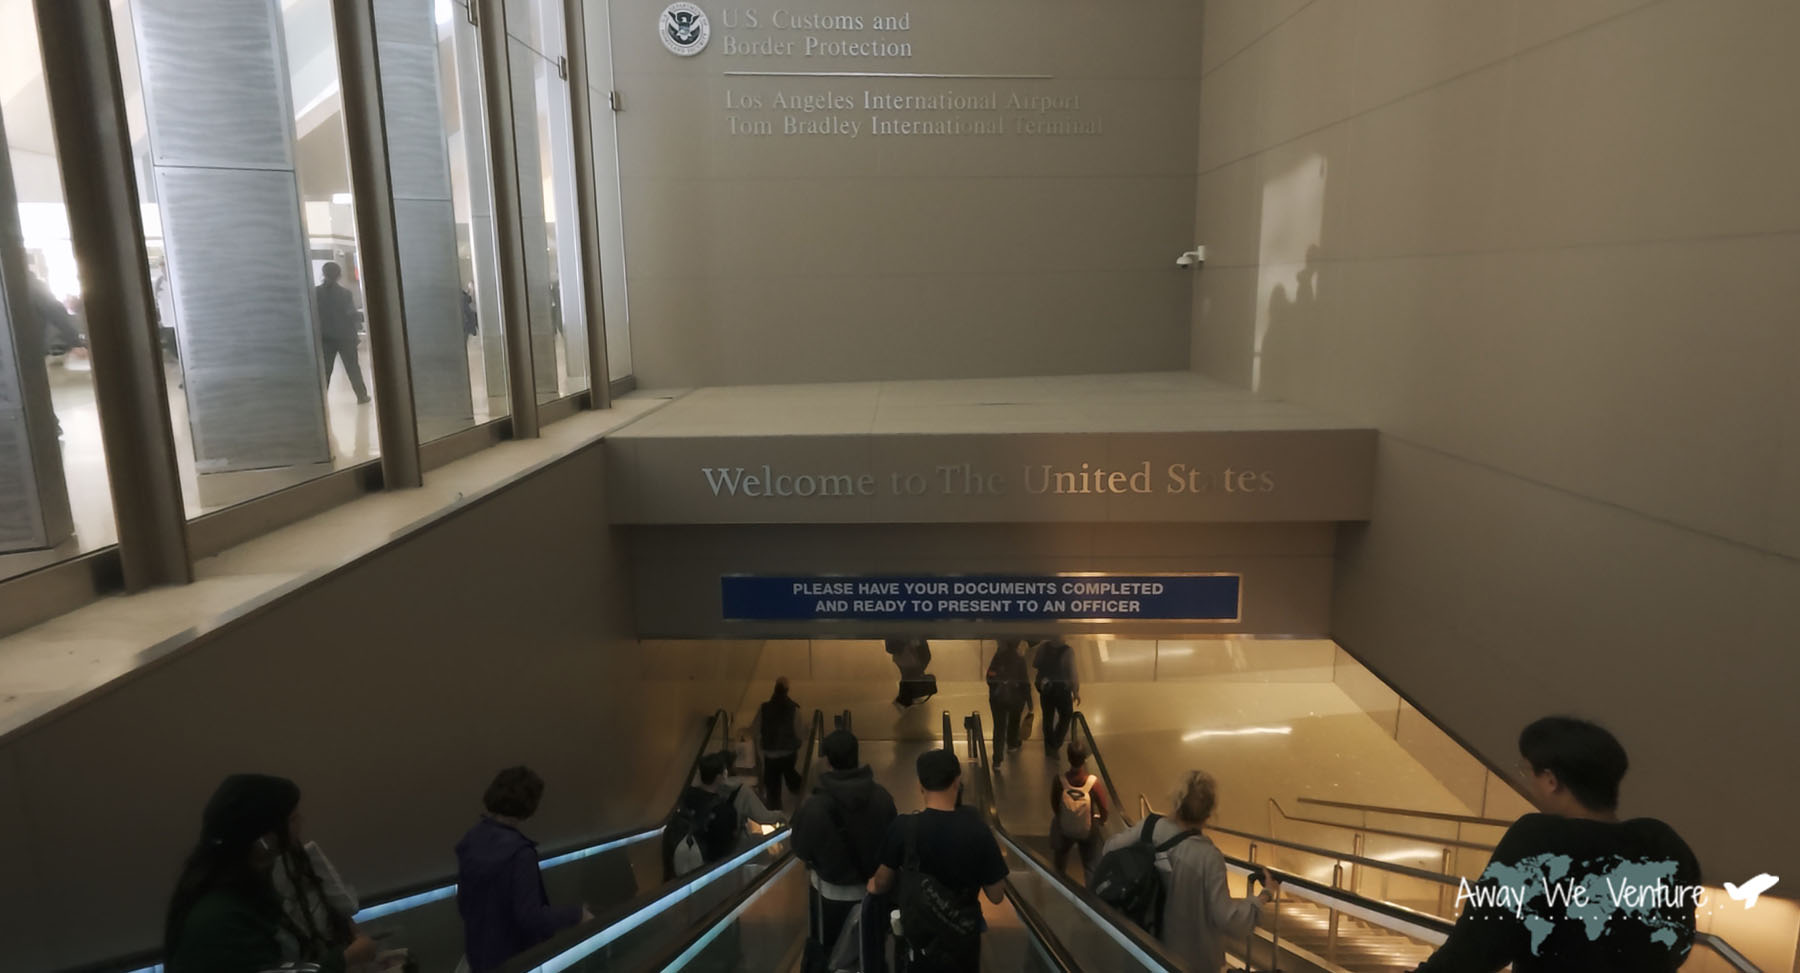
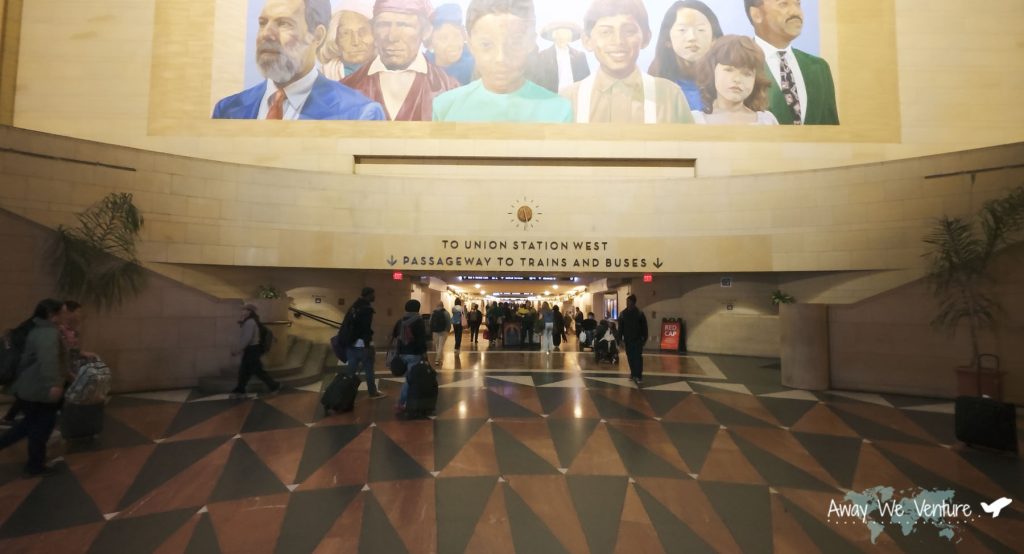
After approximately 50 minutes on the bus (longer depending on traffic), you’ll arrive at Los Angeles Union Station. One of the major transportation hubs in the city. Once you get off the bus the bus operator will start unloading everyone’s luggage. Grab your luggage and head inside towards LA Union Station. From there you will take the Metrolink train from LA Union Station to Anaheim Station (ARTIC). The ride will be approximately 35 minutes with intervals running up until 8pm.

You can either buy the ticket from a person at the ticket booth or a physical vending machine that says Metrolink. It was pretty easy to buy the ticket. You just have to select one way trip > choose starting destination > choose ending destination. Once you get the printed ticket you can head off to the train and bus platforms

MetroLink Train Platform (OC Line)

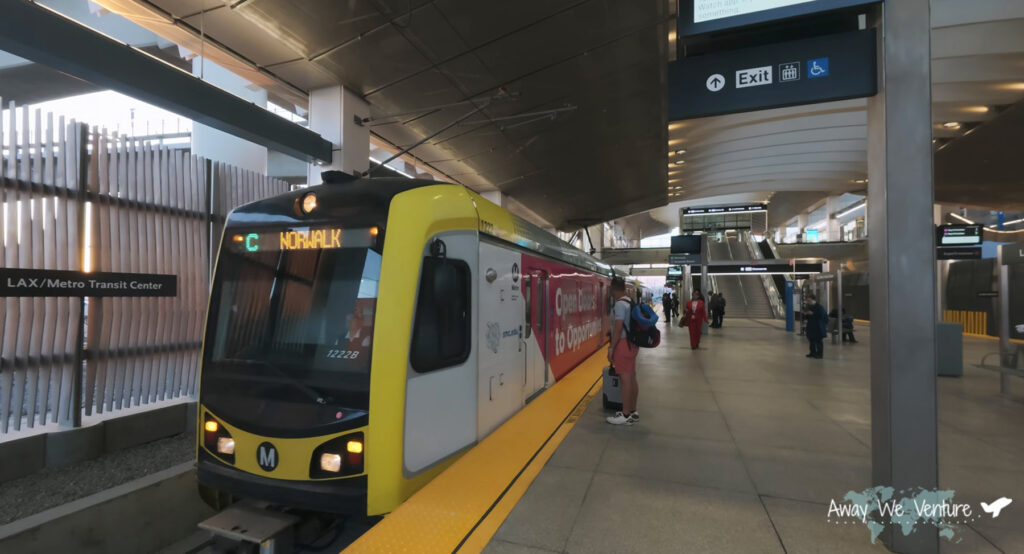
I actually ended up getting lost so I asked someone where the train line is at. He told me to take the OC Line towards Orange County. Take the MetroLink OC Line towards Oceanside.

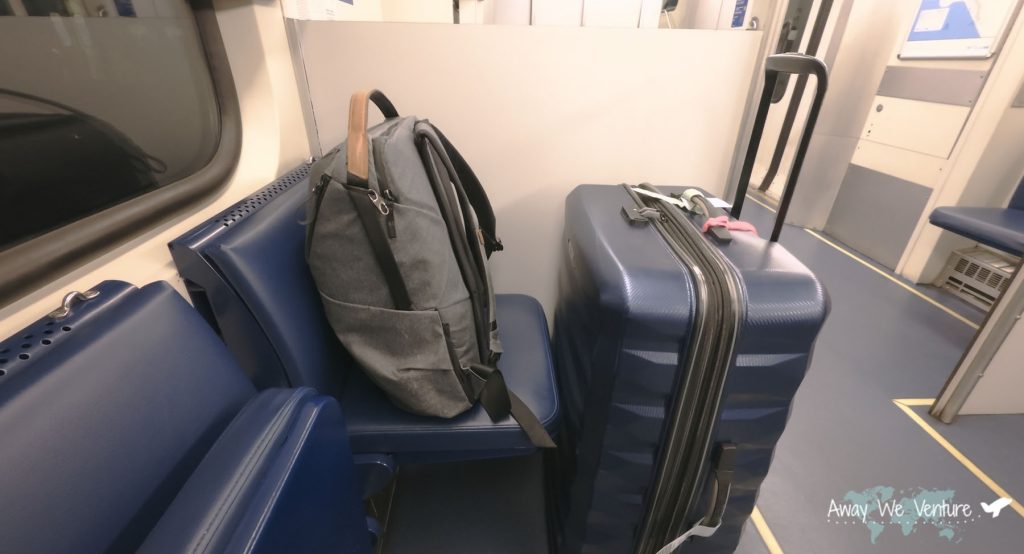
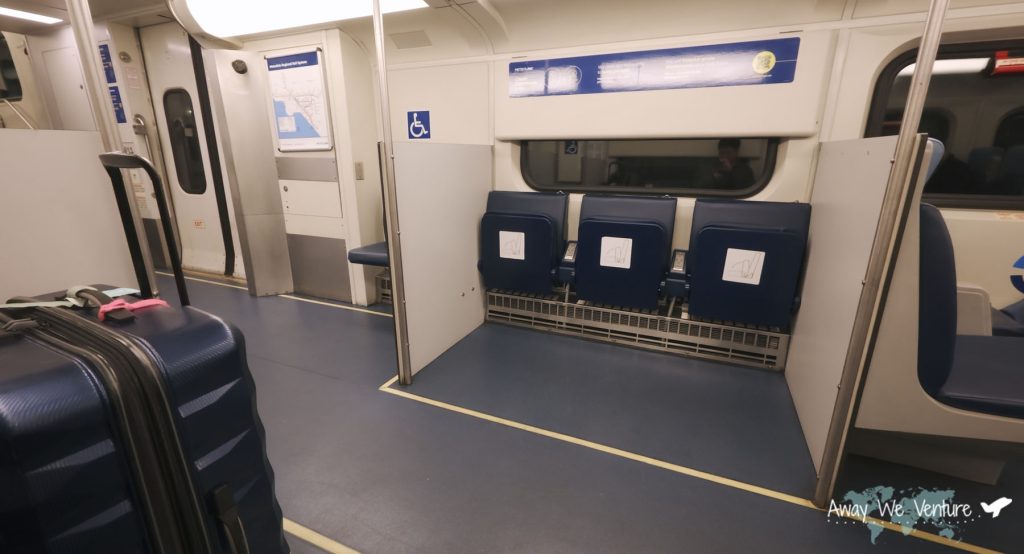
I chose the MetroLink train instead of the Amtrak Pacific Surfliner train that also goes to Anaheim as well. Amtrak was more expensive and there wasn’t any luggage storage areas. I knew that at least with MetroLink you’d be able to keep your luggage with you. I was so surprised to see each train had areas for suitcases / luggage areas. The train was also not that full so this made the train ride so enjoyable.

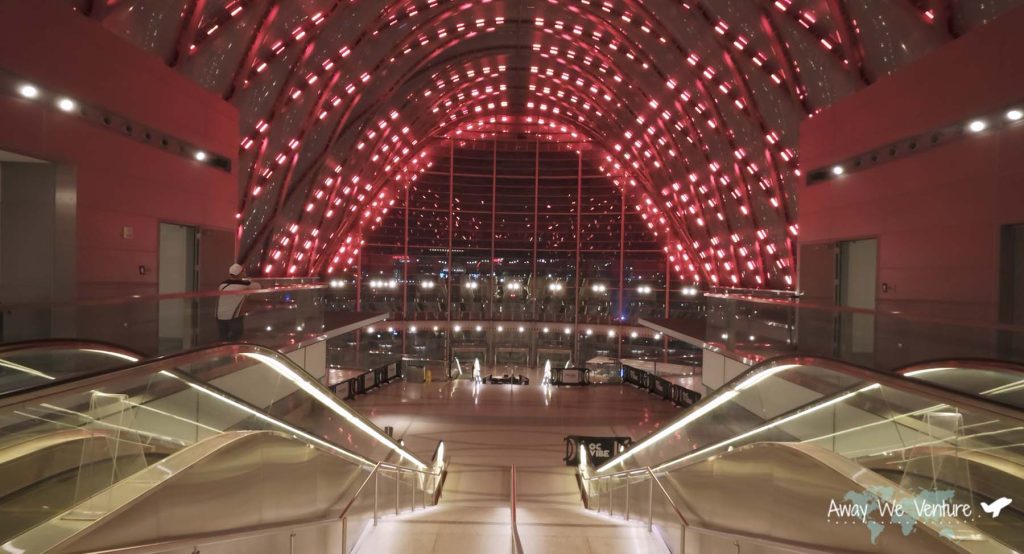
After a couple stops I was finally at the Anaheim ARTIC station. Super close to Disneyland now!

From here you can either call a Uber / Lyft if you wanted to your destination near Disneyland or take the Bus. Since this is geared for solo travelers I’ll be showing you the bus route to take if you choose to not take rideshare to get to your last stretch destination.

Step 3: Anaheim ARTIC Station Bus to Disneyland Resort

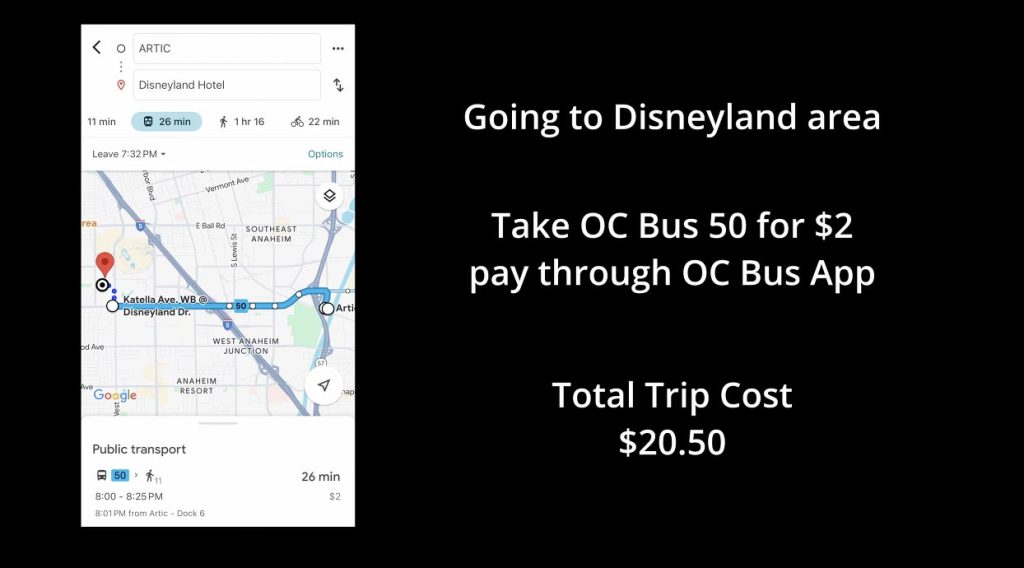
You’ll then exit the ARTIC Station and look for signs that show Bus 50 which is the bus route that takes you to the front of Disneyland. For easy payment you should use the OC Bus App downloaded from the app store to pay for the bus.

With that being said, your total cost of the trip from LAX is under $21. Whether you take rideshare or bus to get to your final destination will be up to you. Your total time will be around 1 hr 35 minutes to get to the Anaheim ARTIC and add another 20-30 minutes for the bus if you’re planning to ride the bus! So the grand total of getting to Disneyland is around 2 hours travel time at $21.

YouTube Video

City Travel Guides

3D2N Spring Oregon Road Trip Itinerary – Tulip Farms, Waterfalls, Haystack Rock, and Cheese & Alpaca Farm

oregon_3

Oregon is a one of a kind state. It’s known for having some of the most beautiful outdoor seasons nature has to offer, but also has just about everything anyone would want to do when they go there to visit. The food scene in Portland, Oregon is very unique and within a couple hours you can be at the Oregon Coast enjoying the beach or enjoying the spring blooms at a famous tulip farm! Our four day Oregon Travel Itinerary will help you plan your next trip in the spring time!

I honestly never thought about traveling to Portland, Oregon until my friends ended up moving there. Little did I know that Oregon receives actual seasons unlike the weather in California which only consists of spring and summer.

Full disclosure: On this travel guide I will reference separate websites I used for my trip through different travel agencies. I have not been paid or sponsored to post this content. The content below is purely based off my experience during my time there and using the services.


Pre-Trip Essentials

Before you embark on a trip to Oregon you’ll want to make sure you are able to secure a car rental. Public transportation is very limited to downtown Portland so I would suggest renting a car especially since you’ll have the freedom to go to far and unique places that Oregon has to offer!

Car Rental: For this trip we rented a car from Enterprise Car Rental at the Portland International Airport (PDX)

**Note: If you’re from a different country renting a car you’ll need an International Driving Permit (IDP) from your home country. Each country has different processes in attaining a IDP, but if you have a local license from your country of residence and an IDP you’ll be able to easily rent a car in the states.

Housing: For this trip we opted to do an Airbnb in Beaverton, Oregon. The area basically has a bunch of Asian food options and other various cuisines. Beaverton is somewhat in the middle with regards to the different parts of Oregon we’d be driving to so it was the perfect choice!

Connectivity: If your phone supports e-SIM you can purchase from these two providers and load the sim card in your home country and turn them on once you get to Oregon if you’re flying from out of country

Currency: USD ($)

Types of Payment Options: Cash, Card
Most places in Oregon will take both options. People try not to carry too much cash nowadays in hand.

Apps: USA uses a wide variety of apps but below is a list of apps you might want to download just so you can maximize the road trip experience!

  • Google Maps ( iOS / Android )
    I would also suggest downloading “offline maps” for areas in Oregon where cell coverage is spotty. That way you can still use Google Maps without the need to connect to the internet.

Day 1: Early Morning 5am Sunrise to Catch Tulip Farm

One of the first things we did on Day 1 was grab sunrise tickets for the Wooden Shoe Tulip Farm! Our group woke up super early around 4am and drove about 45 minutes from Beaverton to SilverTickets require reservations ahead of time based upon the day you want to attend. Keep in mind that tickets are usually very scarce during the weekends so it might be best to go on a weekday.

Wooden Shoe Tulip Farm

One of the first things we did on Day 1 was grab sunrise tickets for the Wooden Shoe Tulip Farm! Tickets require reservations ahead of time based upon the day you want to attend. Keep in mind that tickets are usually very scarce during the weekends so it might be best to go on a weekday.

Wooden Shoe Tulip Farm
Address: 33814 S Meridian Rd. Woodburn, OR 97071
Google Maps

We bought:

  • Wooden Shoe Tulip Farm 5am Sunrise Ticket $25 + $2.50 Convenience Fee = $27.50 per person
  • Wooden Shoe Tulip Farm Sunrise Drone Pass $10 add on
    We purchased one of the sunrise drone pass because I wanted to fly my drone in the fields and there’s a limited amount of tickets slotted for that day.

One of the things that was really nice about waking up early was the fact that we got to see all the hot air balloon rides depart from the fields. It’s not everyday that you get to see a hot air balloon is in person. We spent a good chunk of our morning here and by the time we were ready to leave it was almost time for lunch time. We opted to find a lunch spot that was on the way to the next location so that we wouldn’t waste much time.

Silver Falls State Park – South Falls

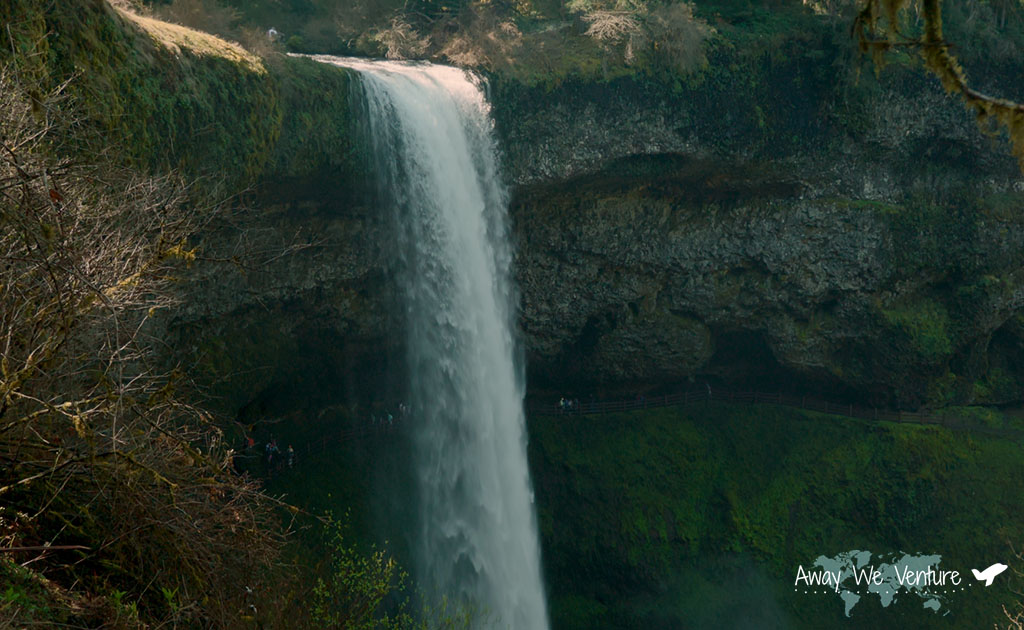
Immediately after the festivities in the morning we drove 45 minutes from the Tulip Farm to Silver Falls State Park. Silver Falls has been recommended to me the numerous times I’ve visited Oregon as a “must see”. I wasn’t too sure what the hype was about, but as I descended down the parking lot to the falls its very apparent why this place was so popular.

Getting to Silver Falls – South Falls
Address: Silver Falls State Park – South Falls Day Use Area, Silverton, OR 97381 | Google Maps
Parking Permit Fee: $5 for a Day Use

Also note that cell service is very spotty or minimal so it’s a good idea to just download the Google Offline Maps of the area before you head out.

Once we arrived we proceeded to pay for parking. The parking fees are used to help maintain the park so that future generations may enjoy it. The fee wasn’t too expensive.

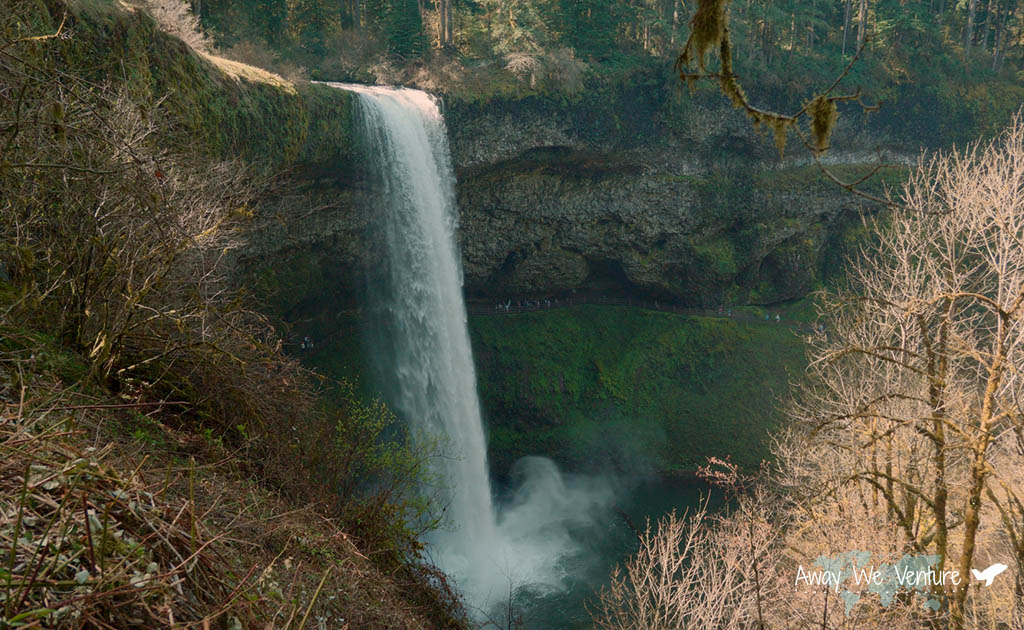
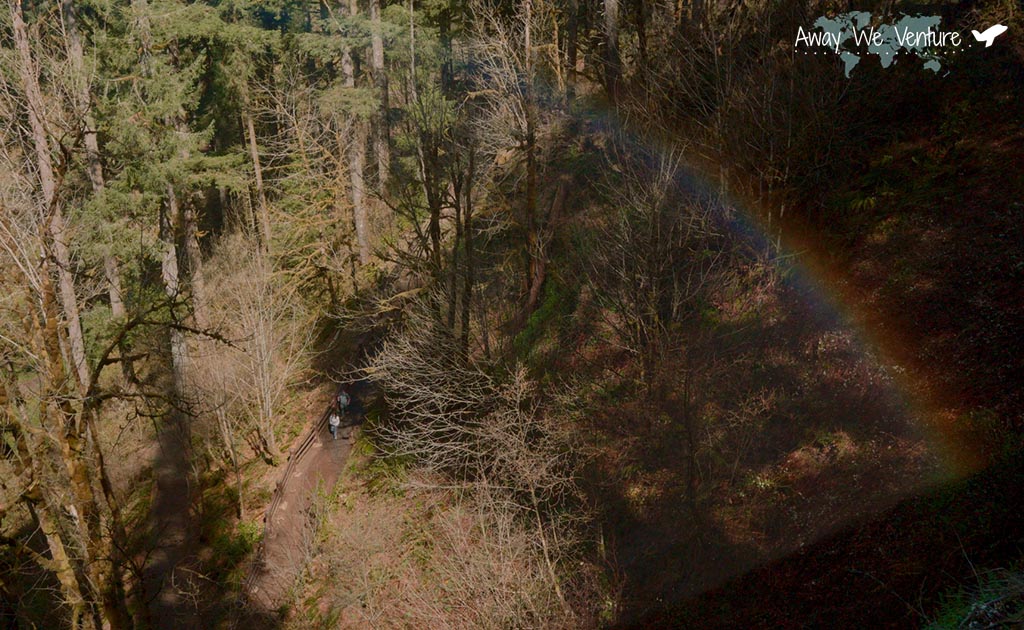
Once you start walking towards the trail you’ll hike downwards towards the waterfall. You might not see it at first, but since you’re starting from the top you get some amazing views of the bottom! Here you can see quite a few people out and about hiking the trail below us! We were even so lucky to spot a small rainbow due to all the mist being released from the waterfall.

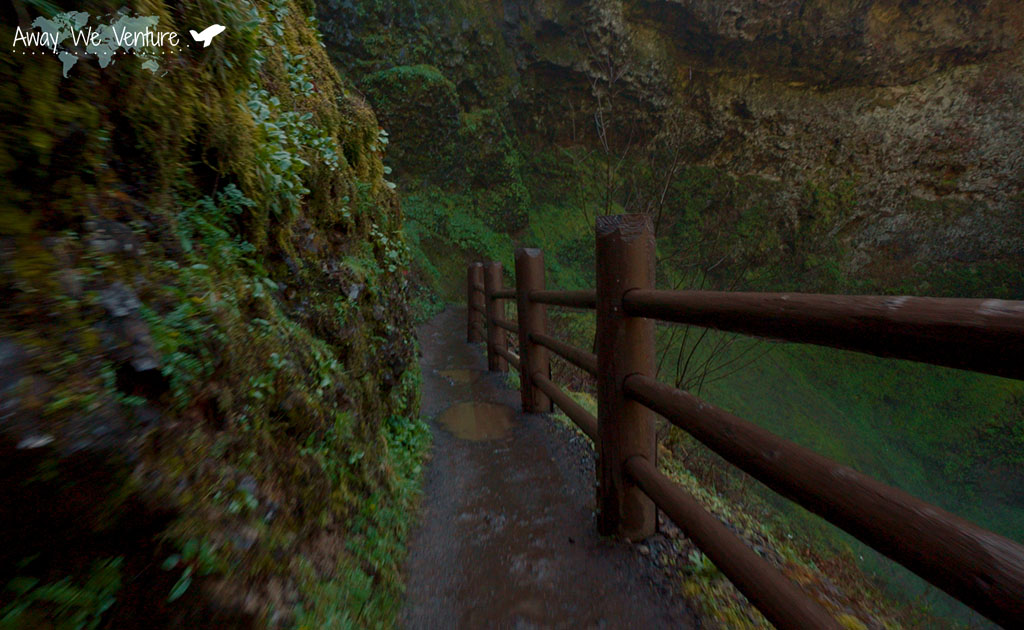
Be careful as you descend down towards the waterfall area because the ground will be muddy and slippery. There’s guardrails to prevent people from sliding down the cliff. I honestly should have brought a rain coat for this but since this was my first time I had no idea it would be so mossy and slippery.

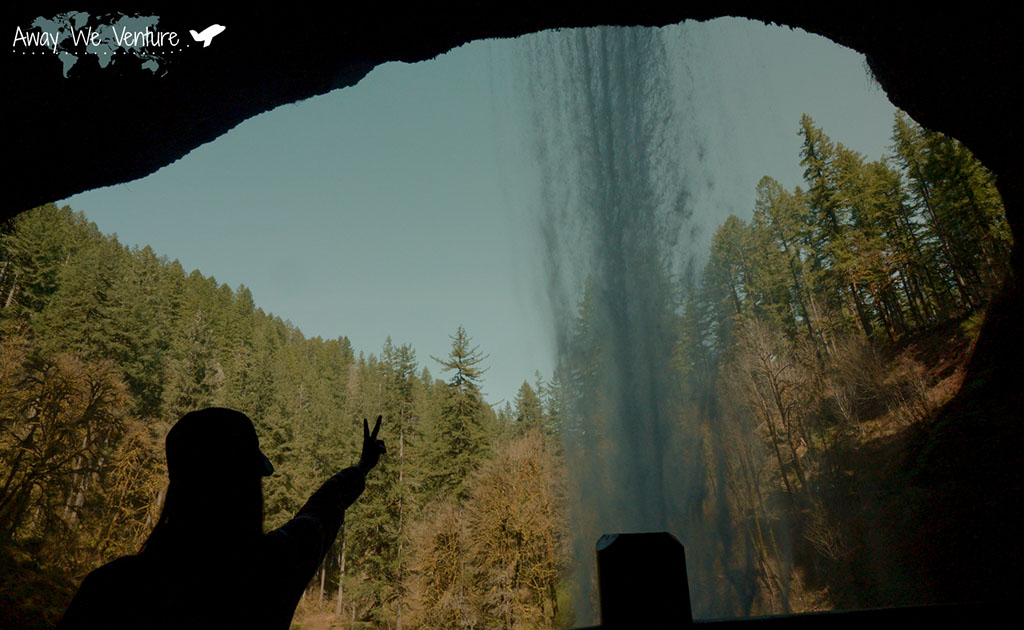
One of the most unique things about this short hike was that you got to actually go below the waterfall! Which makes for some really cool photos. Behind the waterfall is damp and mossy kind of like a cave. This area in particular is very wet so I would be careful trying to pull out a nice camera to take photos or videos if you don’t mind it being a little wet.

Sellwood / Moreland – Portland Food Carts

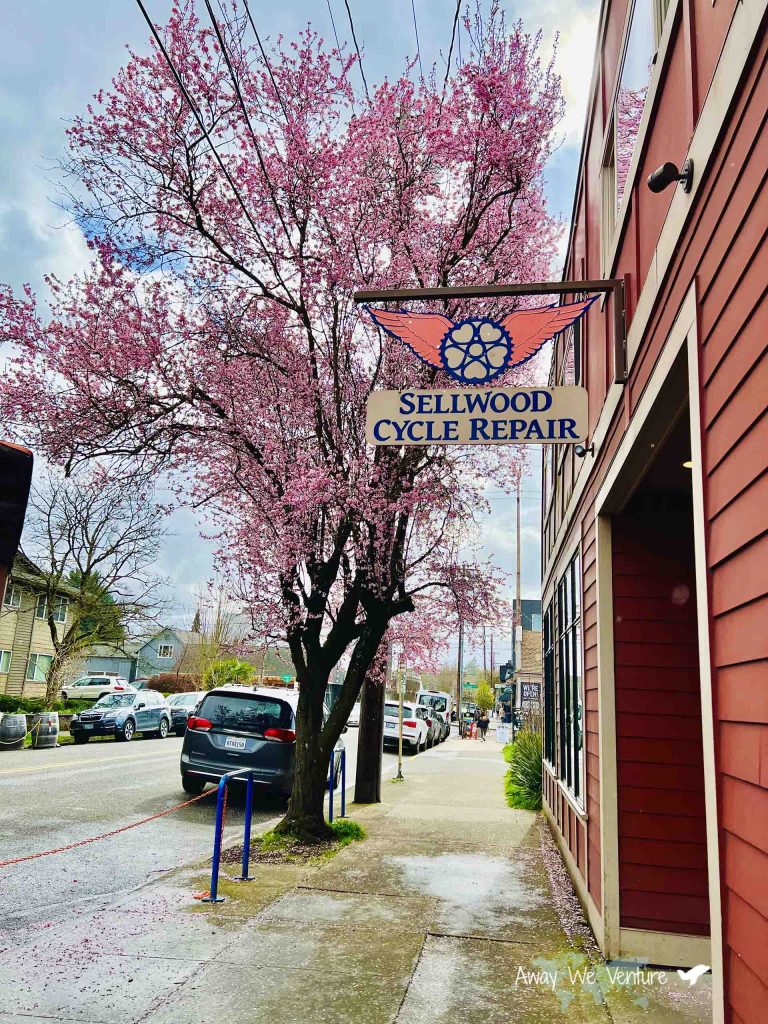
After exploring around the park we drove back into Portland, Oregon. The car ride from Silver Falls – South Falls to Portland, Oregon was roughly a 1 hr 15 minute car ride (traffic dependent). I made the suggestion having been to many smaller cities near Portland to head over to Sellwood, Oregon. The city of Sellwood has a distinct antique vibe similar to the old days of how homes were in America. You can pretty much spend a good chunk of time walking around the many small stores and restaurants on that same street. If you come during cherry blossom season the trees look magnificent during the spring time!

Sellwood – Moreland
Address: 7953 SE 13th Ave, Portland, OR 97202
Google Maps

What’s unique is the food cart scene in Oregon. You’ll find a ton of food truck trailers and areas where food trucks will park and people can walk up and order a wide variety of foods! They’re all over the Portland, Oregon area so it’s not uncommon to find one in street corners every now and then!

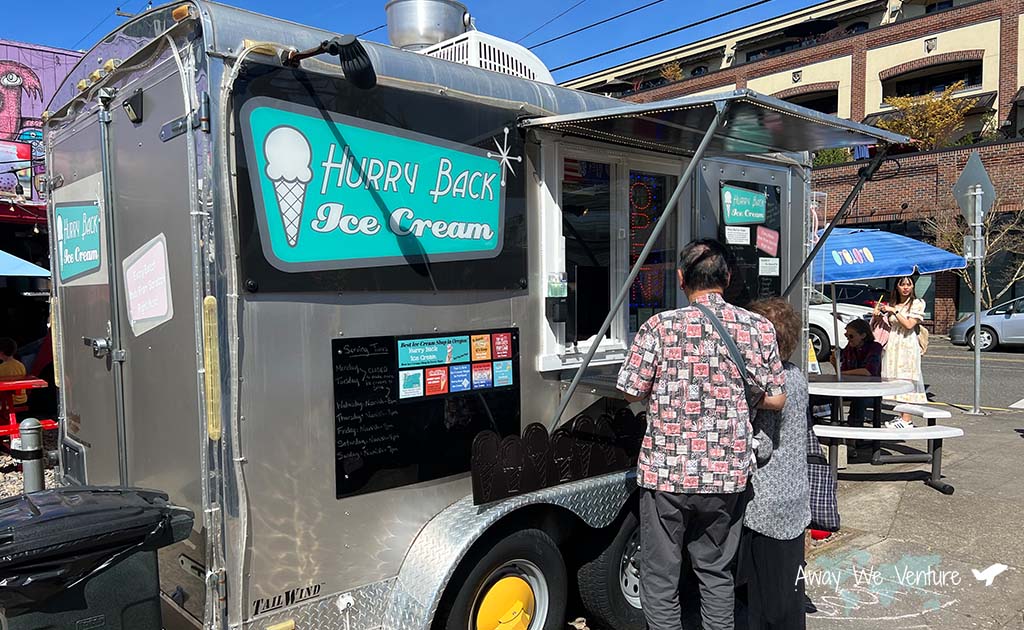
From ice cream to Chinese or Japanese food it’s a really unique take on the food halls without actually having a physical building! My sister wanted some dessert so we went to this ice cream truck near all the stores in the area.

Hurry Back Ice Cream
Address: 7875 Southeast 13th Avenue Southeast 13th and, SE Lexington St, Portland, OR 97202
Google Maps

We technically did a lot in a day. A lot of walking and a lot of driving. So we ended up calling it a night and headed back to the Airbnb so we could prepare to take on the beautiful Oregon Coast in the early morning tomorrow.


Day 2: Exploring East Oregon

On Day 2 we decided to venture out into the Oregon Coast! I was told it was beautiful so we drove to Haystack Rock located at Cannon Beach. Everything done on Day 2 were a one day trip out of Portland and it was surprisingly easy to pull of a day trip to do so many things in one day! Below was the itinerary and list of things we did! The drive towards Cannon Beach / Haystack Rock from where we were staying in Beaverton, OR was around 1hr 20 minutes (if there’s no traffic). This makes a day trip out totally possible!

Haystack Rock / Cannon Beach

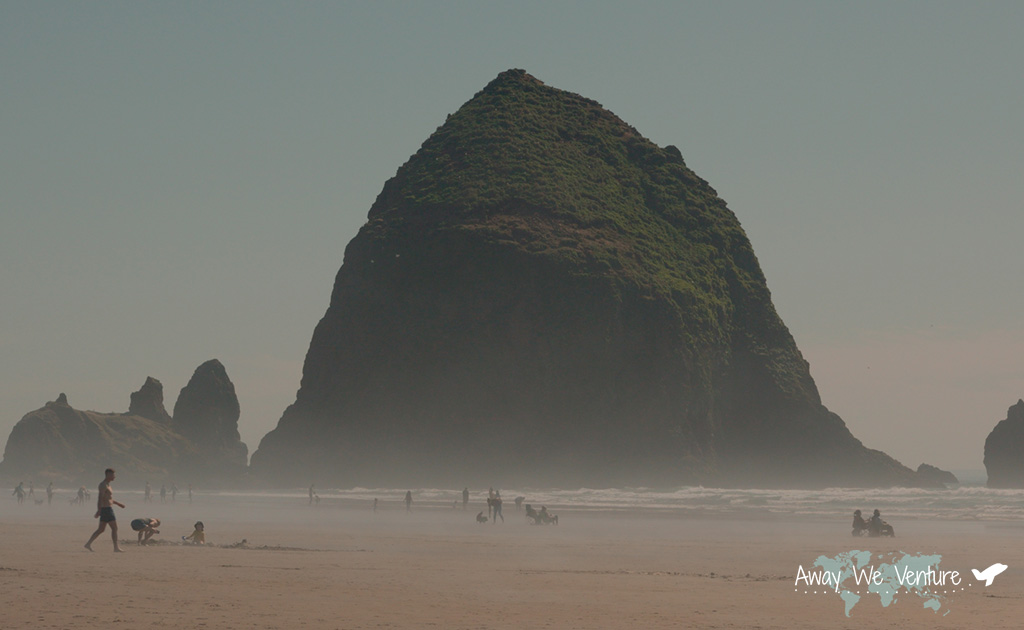
Probably the biggest thing on my list was visiting the giant rock formation known as Haystack Rock which is situated at Canon Beach, Oregon! The rock formation looks small on the picture but up close in person it was way bigger than expected!

Haystack Rock – Cannon Beach Oregon
Address: US-101, Cannon Beach, OR 97110
Parking: We parked on the streets further from the rock on a weekend. The cross streets we parked at was Pacific Dr and W Gower Ave. If you can’t find street parking close to the rock you’ll have to park a little into downtown and walk over like we did. There’s plenty of parking there. Make sure to read the parking restrictions in the area if you see any.
Google Maps

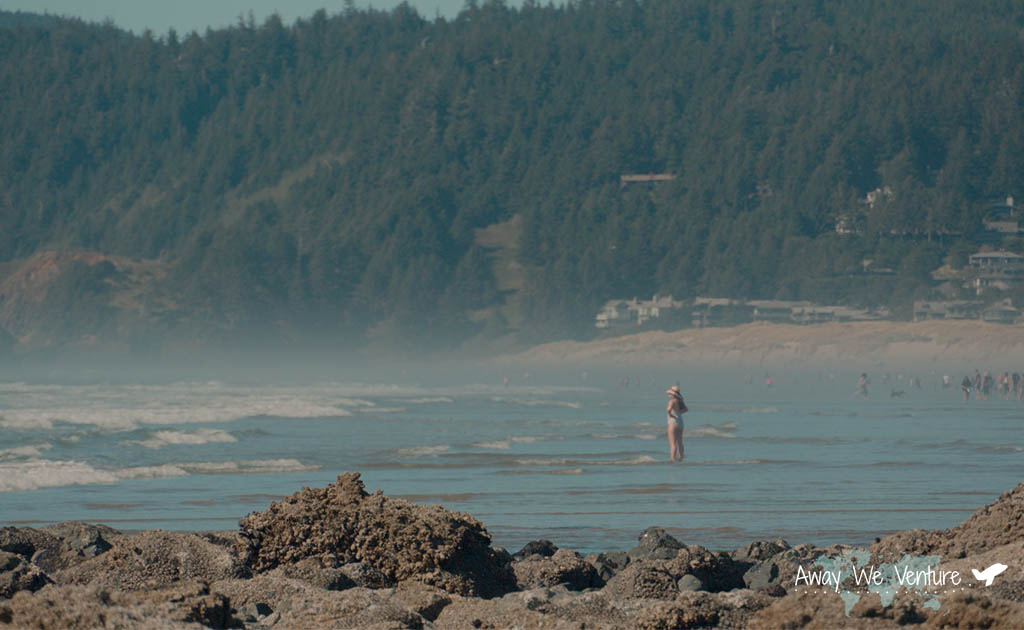
Coming from California and living close to the beaches the Oregon beaches has a completely different vibe! Even during the day there’s a mist of fog that engulfs the Oregon Coast! We don’t really get to see that much in California because its immediately gone by mid afternoon.

We were very lucky to come on a day when it wasn’t raining. Even the locals told us that we were really lucky to catch Oregon sunny weather. This is true. The other times I’ve been to Oregon it was always raining non-stop. This sunny beach weather was perfect for picnics.

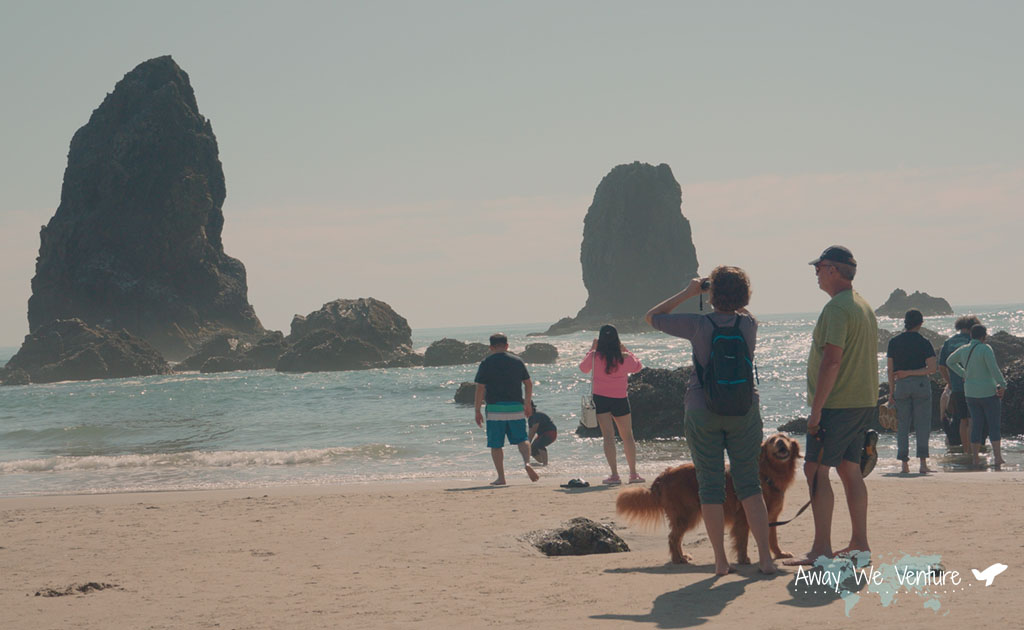
My family enjoyed the scenery and seeing all the wildlife living in the tide pools! Definitely worth the visit. Afterwards, since it was so hot we decided to head over to Tillamook Creamery to indulge in some ice cream!

Tillamook Creamery

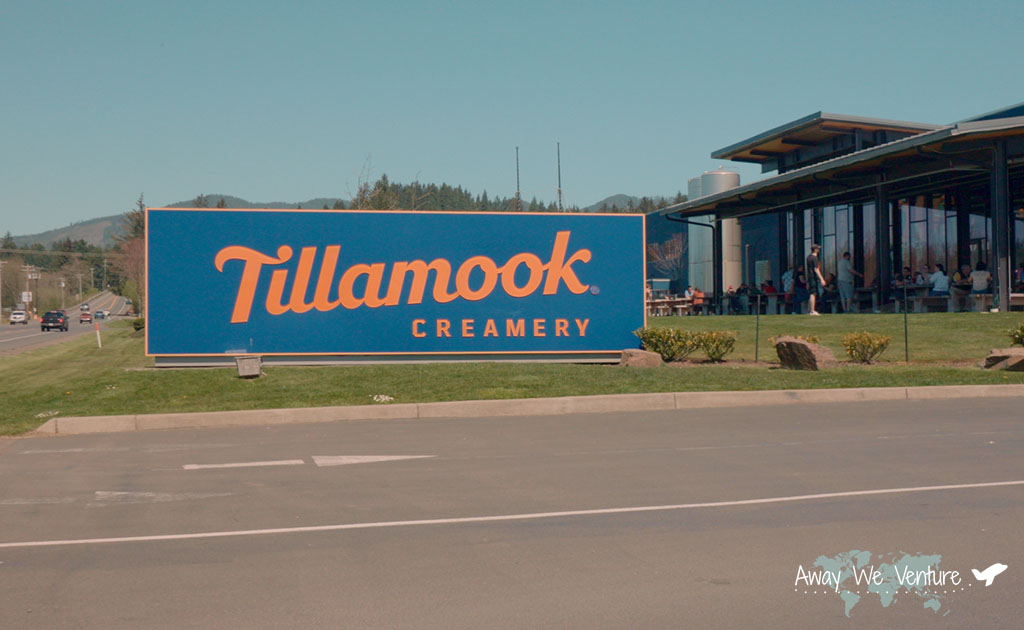
From Haystack Rock / Cannon Beach to Tillamook Creamery, it was approximately a 35 minute scenic drive through the Oregon coast. You pass by a bunch of small towns by the side of the pacific ocean which I would suggest you take a visit! Unfortunately we weren’t too sure how long we would spend at Tillamook Creamery so we opted to just head straight there. Tillamook Creamery is a must visit if you love anything cheese related! You get to even see how they package the cheese in their factory. If you’ve been to grocery stores in California most of the big chains carry Tillamook ice creams and cheeses!

Tillamook Creamery
Address: 4165 N Hwy 101, Tillamook, OR 97141
Google Maps

The really cool thing about Tillamook is that their museum detailing their company’s history is very interactive! Normally when you think of museums you just see pictures and a wall of text talking about the museum. This was certainly not the case here! Upon arrival at the entrance I saw a picture booth with a tillamook branded van that you can take pictures of!

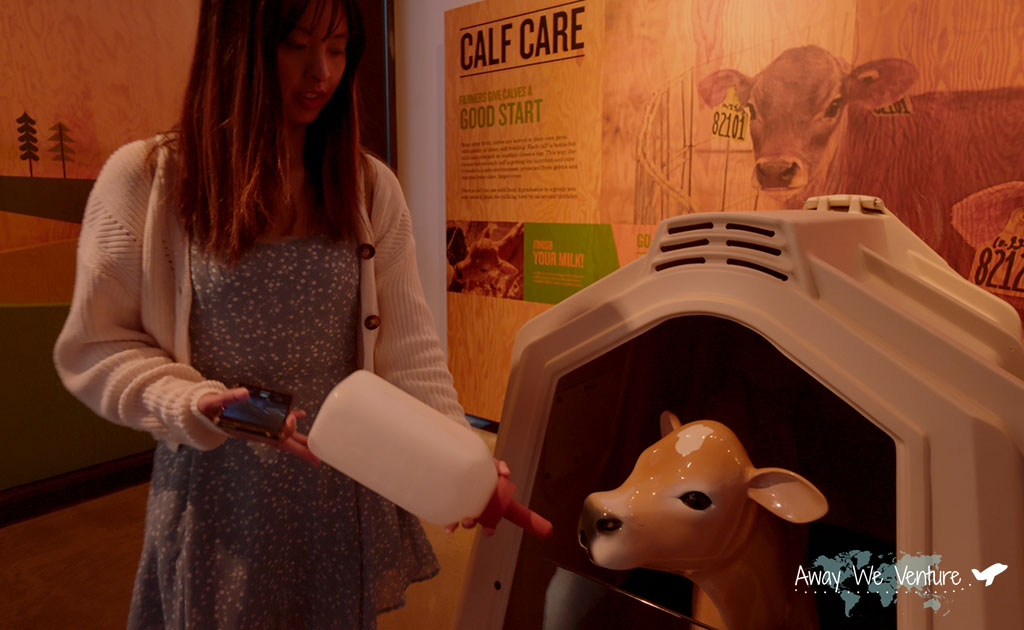
As we talked around the museum I learned so much about how Tillamook takes care of their cows and the maintenance needed to make their famous cheese. My sister picked up a milk bottle to feed the cow. The cow even makes sounds! There’s even a game to see how fast you can milk a cow.

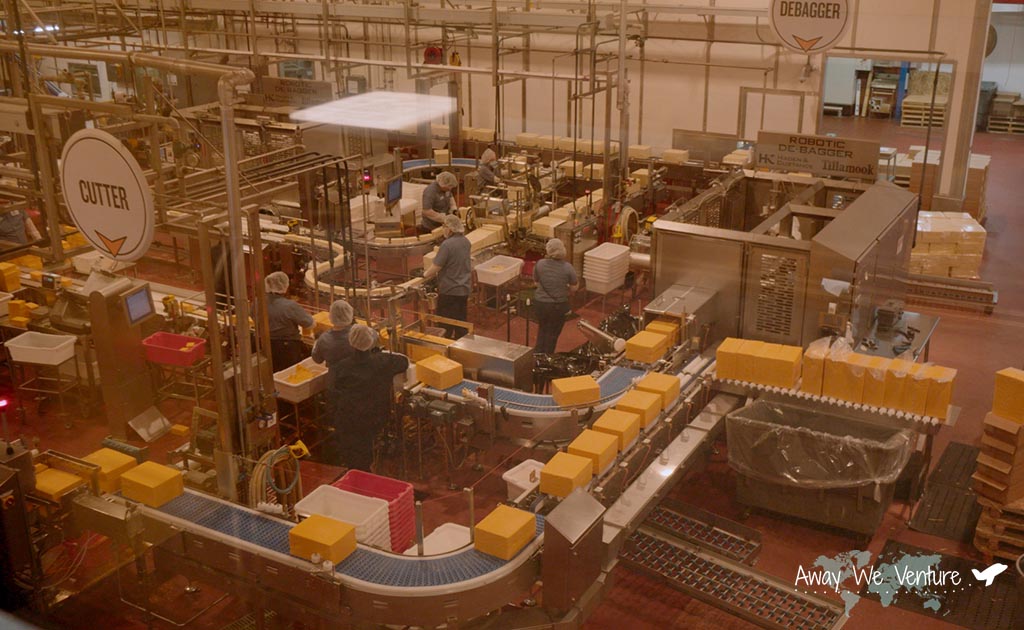
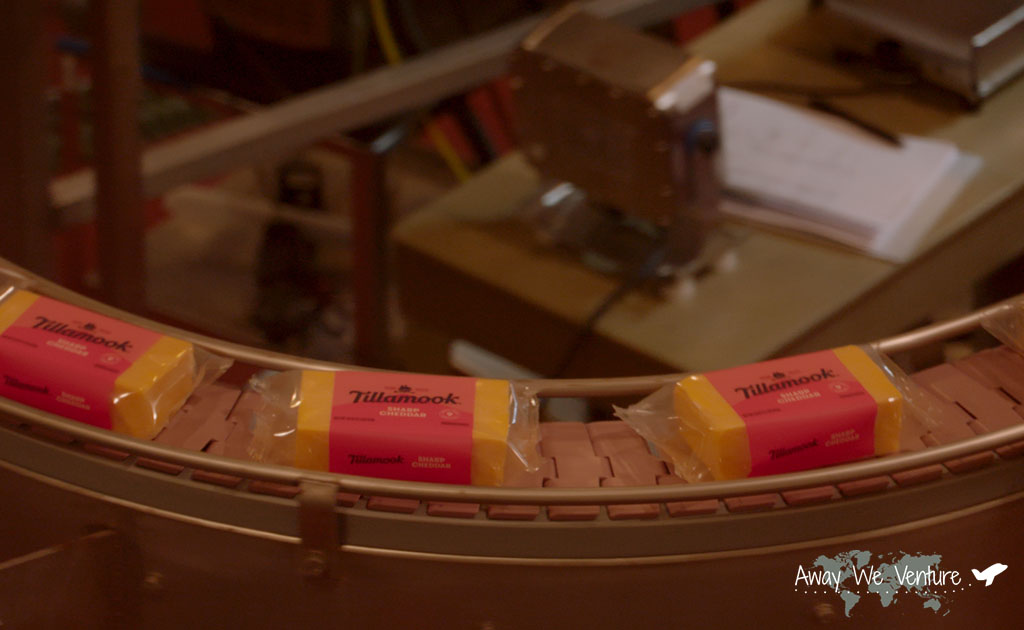
I’ve never seen cheese made and packaged before so I ventured upstairs. Peering through the windows, you can see Tillamook’s process. It makes me appreciate the cheese making process from start to finish.

Best part about Tillamook Creamery was definitely the infinite amounts of free cheese samples you can take! There were some other flavors I had never seen before but those were all taken. So I ended up taking the two most popular Tillamook cheese flavors! After a good lunch we decided to drive back to Beaverton in order to beat the traffic going back home.

Back to Beaverton – BG’s Food Cartel

Naturally since my sister is a foodie she wanted to try a major food truck hall. There was one close to our airbnb called BG’s Food Cartel! They had a wide variety of food. I only tried a couple but if you’re looking for dinner plans somewhere in the Portland or Beaverton Area this is a good spot to go! Parking wasn’t too bad. We were quite hungry from our day trip to the Oregon Coast.

BG’s Food Cartel
Address: 4250 SW Rose Biggi Ave, Beaverton, OR 97005 | Google Maps
Parking: Street Parking or Nearby Lots (check signage)


Day 3: Alpacas of Oregon and Lake Oswego

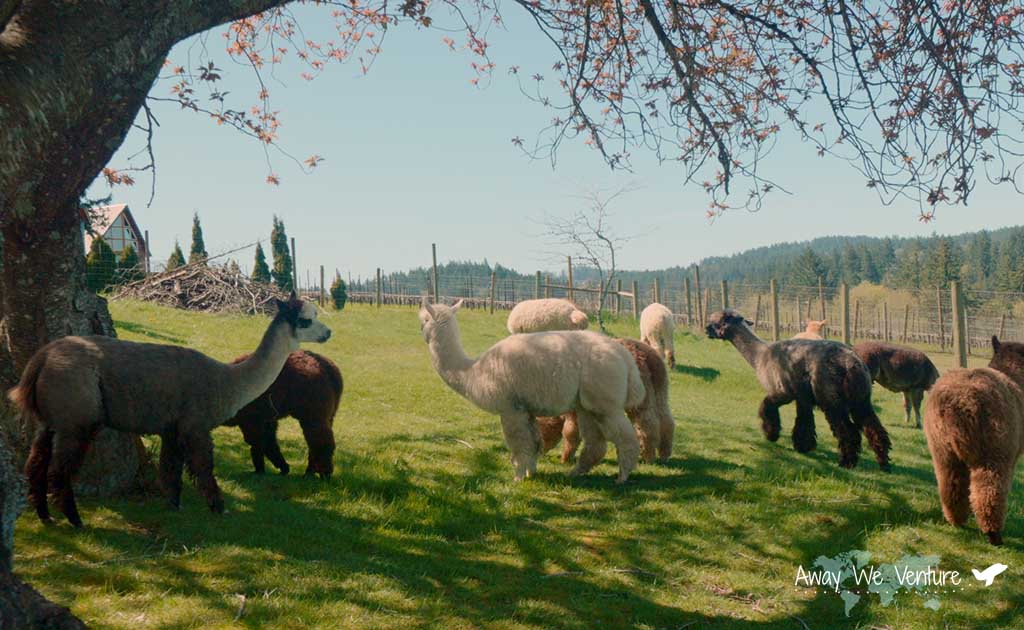
Day 3 was jam packed up until our flight that left at 4pm PST back to California. My sister wanted to do a Alpaca Farm tour so she booked the tickets for us ahead of time before our trip! The drive to Alpaca’s of Oregon from Beaverton, Oregon was around 30 minutes. The drive was scenic too the closer we got to the farm.

Alpaca’s of Oregon (Reservations Required)

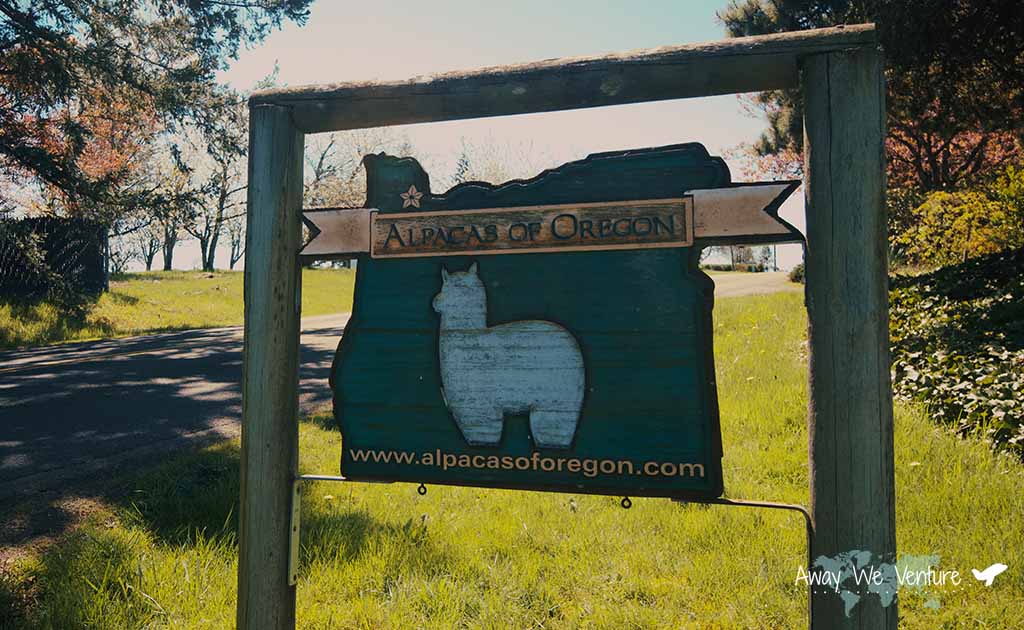
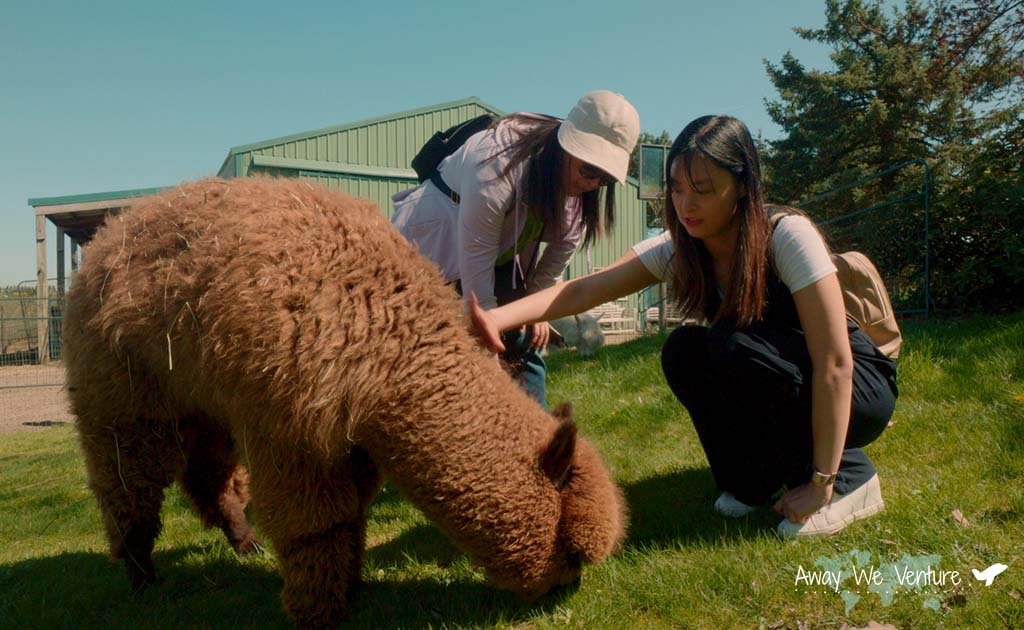
Alpaca’s of Oregon has been on my sister’s bucketlist of things to do in Oregon for a while. The farm offers an opportunity to meet several Alpaca animals as well as getting to get up close and feed them!

Alpaca’s of Oregon
Address: 21345 SW Aebischer Rd, Sherwood, OR 97140
Price: $15/person (Reservations Required)
Google Maps | Website

Please note that you are required to have reservations ahead of time. You can head over to the website and select the available days and how many people are in your party. The cost will be around $15/person and gives you access to feeding the Alpaca’s, tour of the farm, and the general store (with alpaca themed merchandise on sale). As a Californian who’s never really seen animals I was very ecstatic to see all the Alpaca’s roaming around the land.

We even got the meet the dog that works at the farm! The dog’s main job is to herd the Alpaca’s. The dog was incredibly sweet and loves to play! It was such a joy to hang out with the dog!

When it comes time to feeding the owner will give you a bucket of feed and give you specific instructions on how to feed them properly and safely. Make sure to follow the instructions or you could startle the Alpaca’s and you could end up getting injured. Overall, this was such a fun experience. Something that I normally wouldn’t get to do in California!
Lake View Village – Lake Oswego

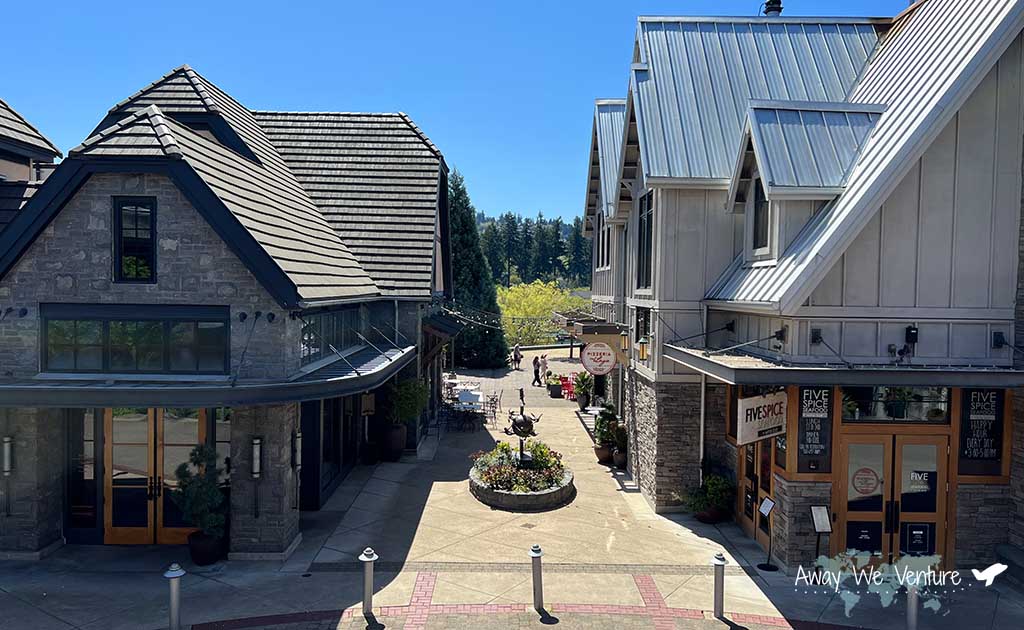
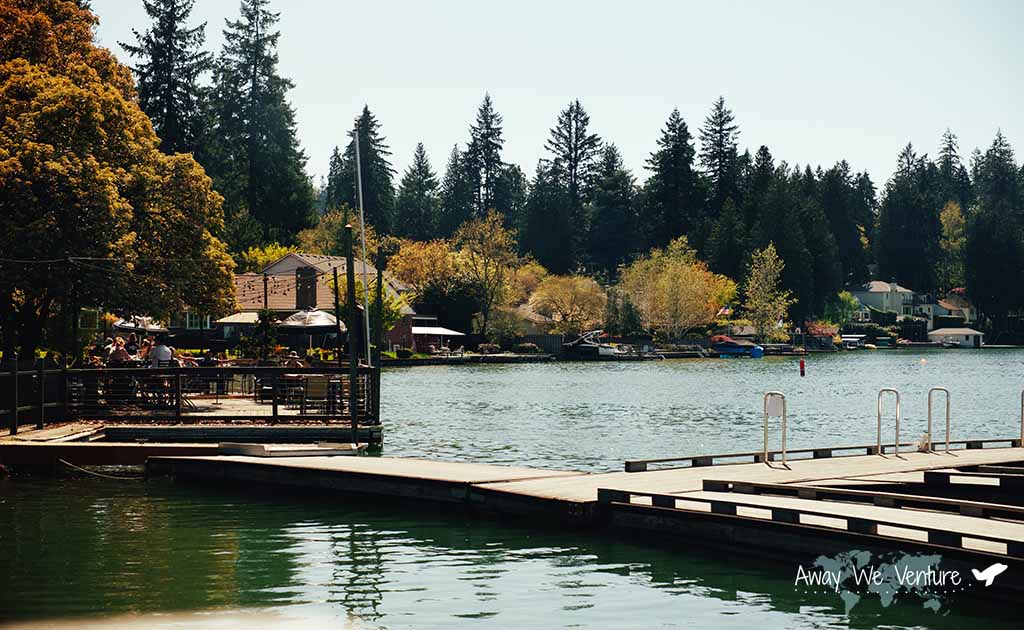
By the time we had finished the Alpaca farm it was roughly around 2pm and our flight at the airport leaves at 5pm PST. So I ended up taking my family over to Lake View Village in the city of Lake Oswego. Lake Oswego reminds me of Big Bear Lake! The homes look like mountain cabins and the vibe is different than downtown Portland.

LakeView Village – Lake Oswego
Address: 390 N State St #310, Lake Oswego, OR 97034 | Google Maps
Parking: Free | Map to Parking

Within LakeView Village there’s a ton of bakeries, ice cream stores, and restaurants. Some of the restaurants even had a nice lake view! They’re all within walking distance and its kind of cool that you can go from the top of the village and stroll down to where the lakeside restaurants are.

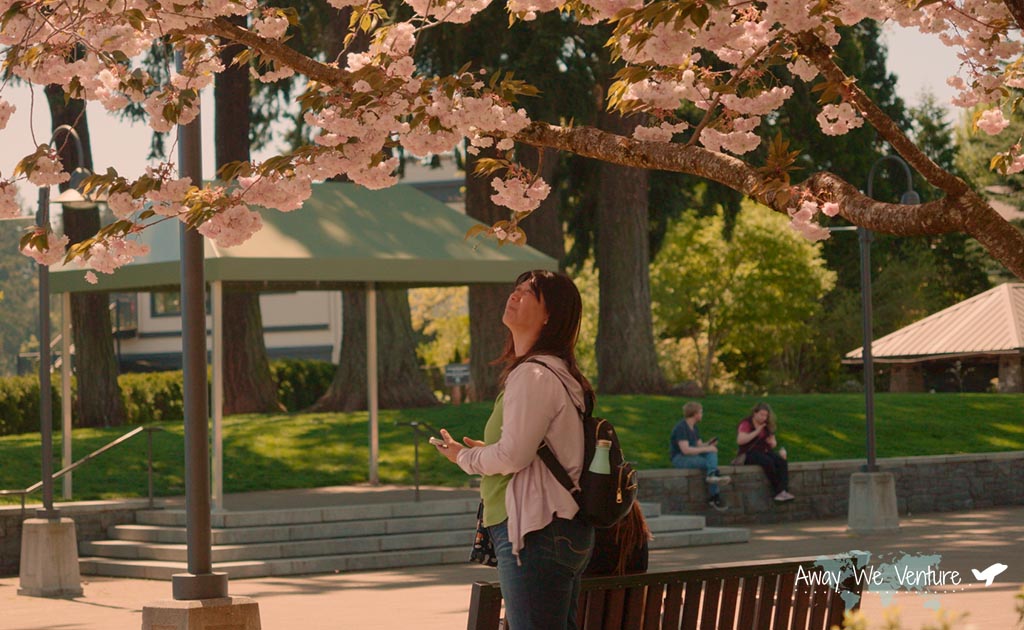
If you’re coming to Portland area in the Spring then you’ll catch some blossoming trees like we did! We just made it before the end of the season. You can definitely see it all over LakeView Village.

We stopped by a bakery and cafe called St. Honore in Lake Oswego! It’s right inside the Lake View Village center and we ordered a quiche. It came with salad and it was totally delicious!

St. Honoré Bakery Lake Oswego
315 1st St #103, Lake Oswego, OR 97034 | Google Maps
Parking: Free | Map to Parking

We then drove to the airport to catch our flight. But before we left there was just a couple things I needed to remember to do!

Stumptown Coffee + Portland International Airport Carpet

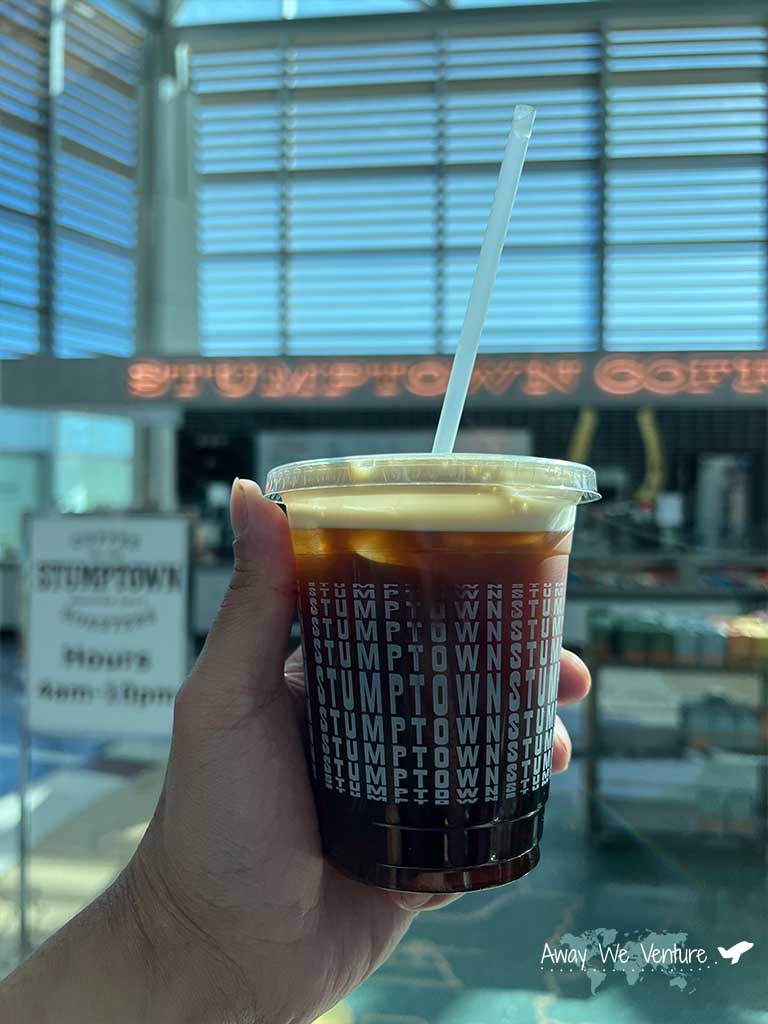
Before my flight left I had to get a cup of coffee from one of Portland’s most famous roasters called Stumptown Coffee. “If you never had Stumptown Coffee were you ever really in Oregon?” – what my friends would say if I came back from the trip not getting a cup of coffee. I got the cold brew and it was smooth! It’s right at the entrance after you pass TSA checkpoints for your flight!

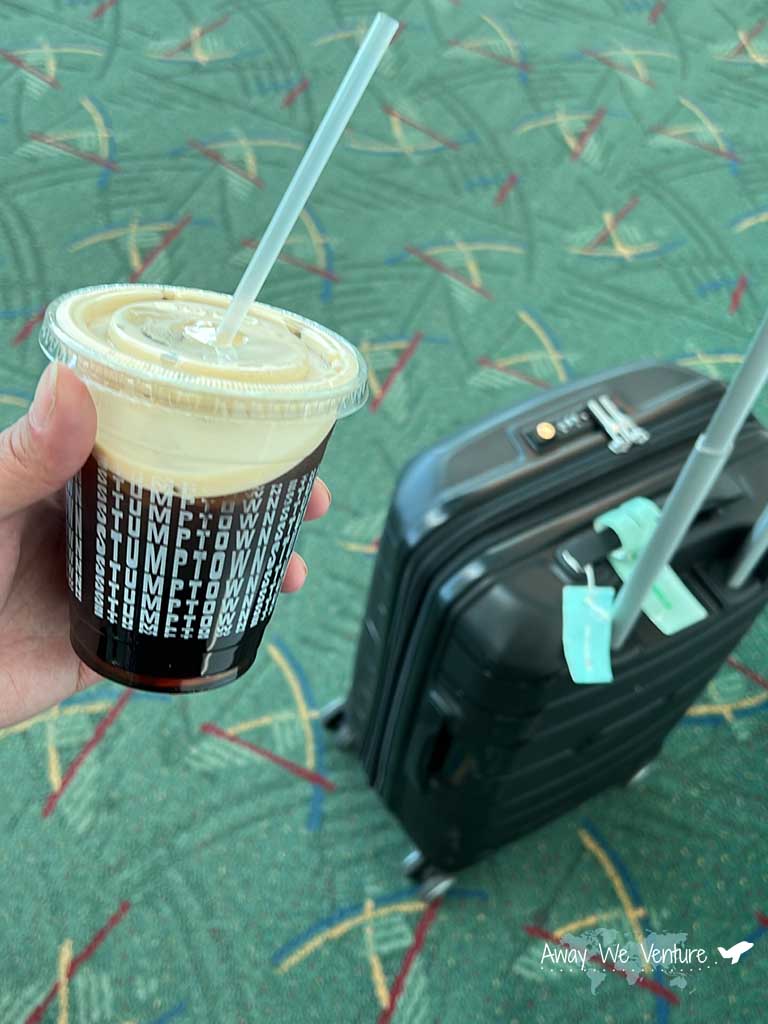
Apparently my friend Armand was telling me that Portland International Airport’s carpet is a must see before you leave. And I’m not going to lie, when I first landed and saw the carpet I thought it was pretty unique. Little did I know that people took selfies with the carpet and it’s a quite known thing in Portland, Oregon.

Got both and can officially say I did all the Portland / Oregon things without any regrets now!

Fly Home

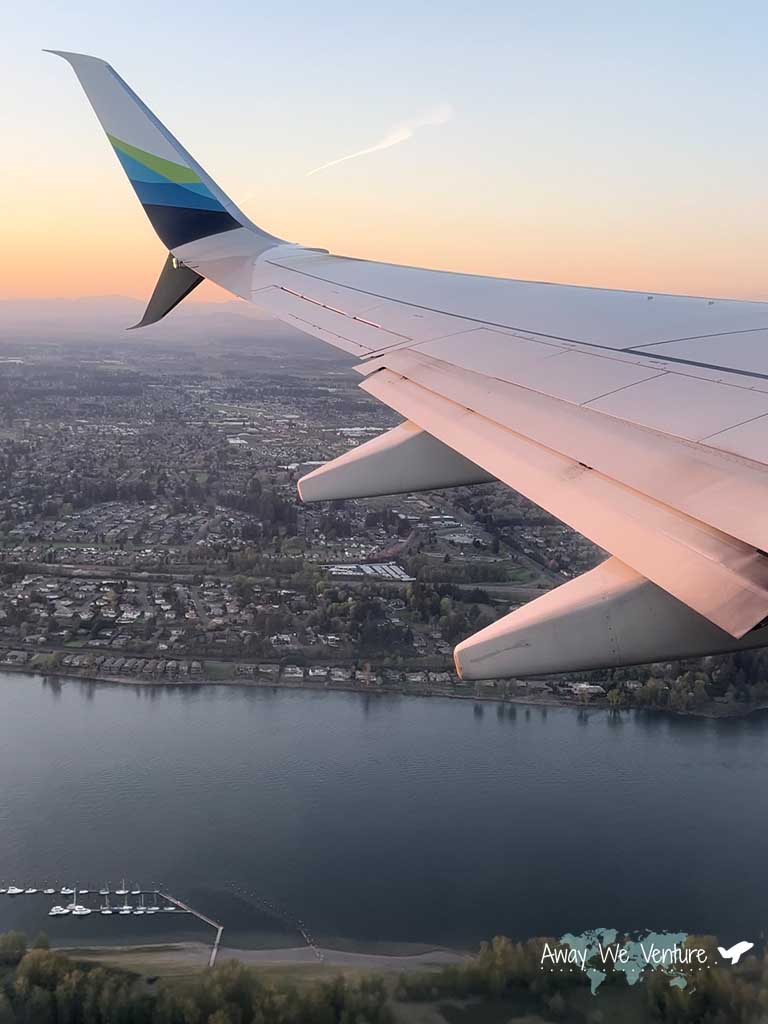
Goodbye Portland, Oregon! It’s always a fun time. Can’t wait to be back next time!


Google Maps + Points of Interest


YouTube Videos

CaliforniaNorth America

Traveling with Gear

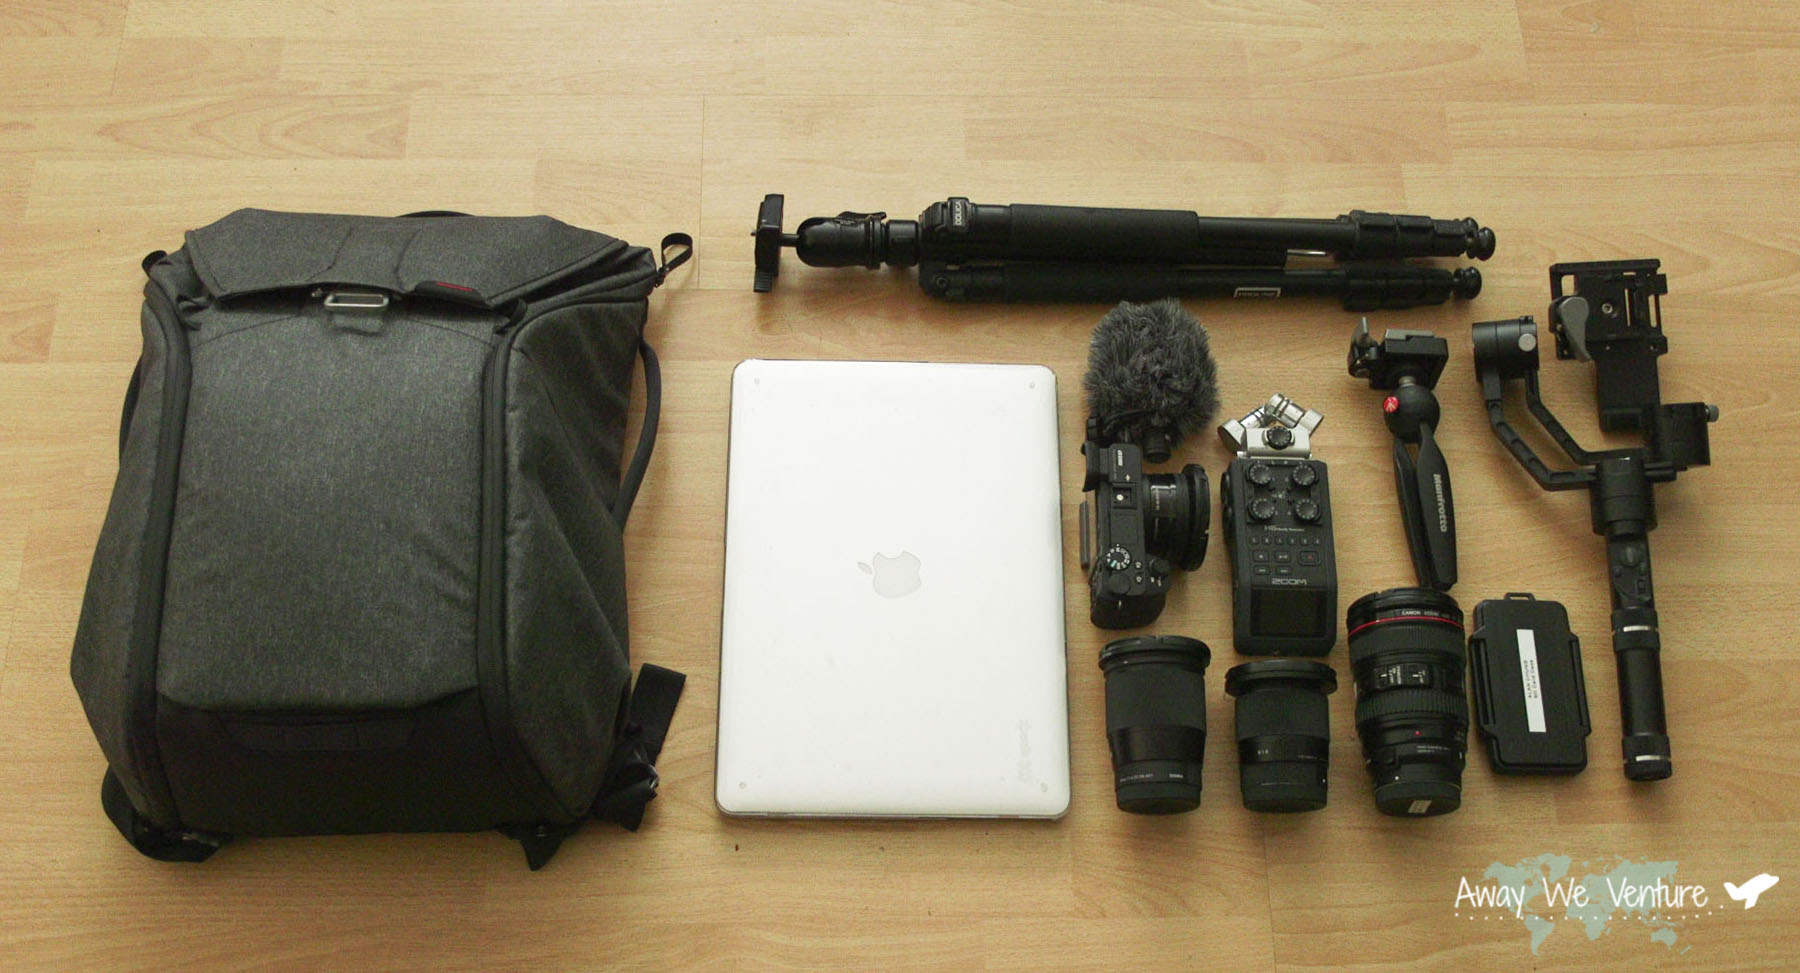
cameragear1

Recently I booked a trip to South Korea for a couple months. One of the things I really wanted to do while I was there was to film and take photographs of the people in Seoul. As we all know when you’re traveling internationally you have to somewhat pack light because of specific airline restrictions.

For this trip I decided to go with a mirrorless setup as opposed to a DSLR setup because of the weight factor. Sure I would be missing out on amazing battery life but the fact that everything in this kit was portable suited my needs.


Gear List

  • Peak Design Everyday Backpack 30L
  • Apple Macbook Pro Retina (Late 2013)
  • Sony A6500 Mirrorless Camera
    • 3 x Sony NP-FW50 batteries
  • Dolica Photography Tripod
  • Rode VideoMicro
  • Zoom H6 Handy Recorder
  • Manfrotto Pixi Mini Tripod
  • Zhiyun Crane v2 Handheld Gimbal
  • Pelican SD Card Holder
    • 2 x 128gb Samsung EVO U3 90mb/s Class 10 SD Card
    • 2 x 64gb SanDisk U3 95mb/s Class 10 SD Card
  • Lenses
    • Sony 16-50mm F/3.5-5.6 OSS Kit Lens
    • Sigma 16mm F/1.4
    • Sigma 30mm F/1.4
    • Canon 24-105mm F/4L w/ Sigma MC-11 E to EF adapter

***The picture doesn’t include the Tiffen Filter Pouch with the ND 8 Hoya, Circular Polarizer, and a Tiffen Variable ND Filter.

One of the reasons I chose the Peak Design backpack over other traveling photography backpacks out there was the fact that I could pull out lenses and gimbals without having to put the bag down at all. This saves me a lot of time especially when I’m sight seeing and traveling.

All in all, the total weight limit of all this gear was well within the carry on allowance for the airline I was bringing the gear to. If this was a DSLR the weight would have exceeded the allowance.