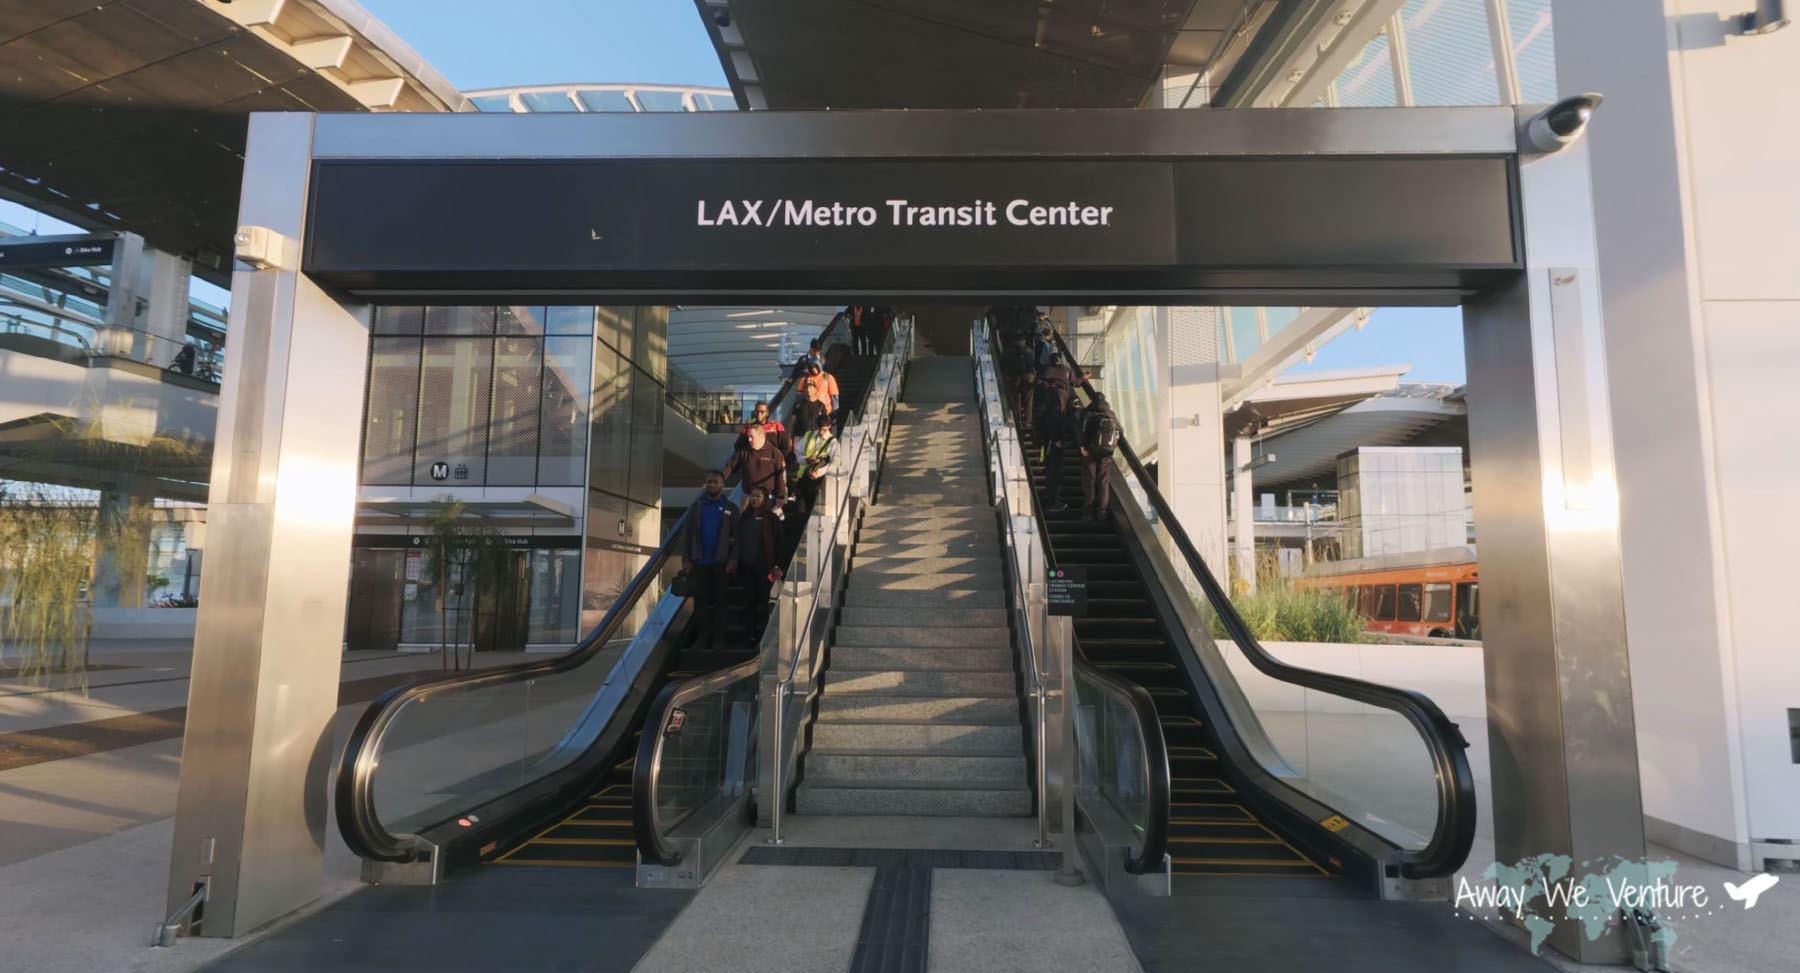
Since the opening of the new LAX Metro Transit Center station on June 6, 2025 there is now an official connector to LA’s vast public transportation network. With the LAWA LAX Automated People Mover (APM) coming in 2026 the new LAX Metro Transit Center Station is going to be a major transfer hub that locals and travelers will take to get around Los Angeles.
Full disclosure: On this travel guide I will reference separate websites I used for my trip through different travel agencies. I have not been paid or sponsored to post this content. The content below is purely based off my experience during my time there and using the services.
Why Take the LA Metro to Norwalk?
Los Angeles never really had a direct rail connection station until just recently. Although at the moment you still have to take a bus to get to the LAX Metro Transit Center Station until the APM is completed, its less of a hassle now than it was before.
For travelers from out of the state or country, this is big news. With Uber and Lyft prices soaring, public transportation is a great alternative if you’re looking to save some money. This line is more for the people that would like to somehow get to Orange County from LAX or vice versa. For me, I will be taking this in order to get to LAX during peak traffic hours!
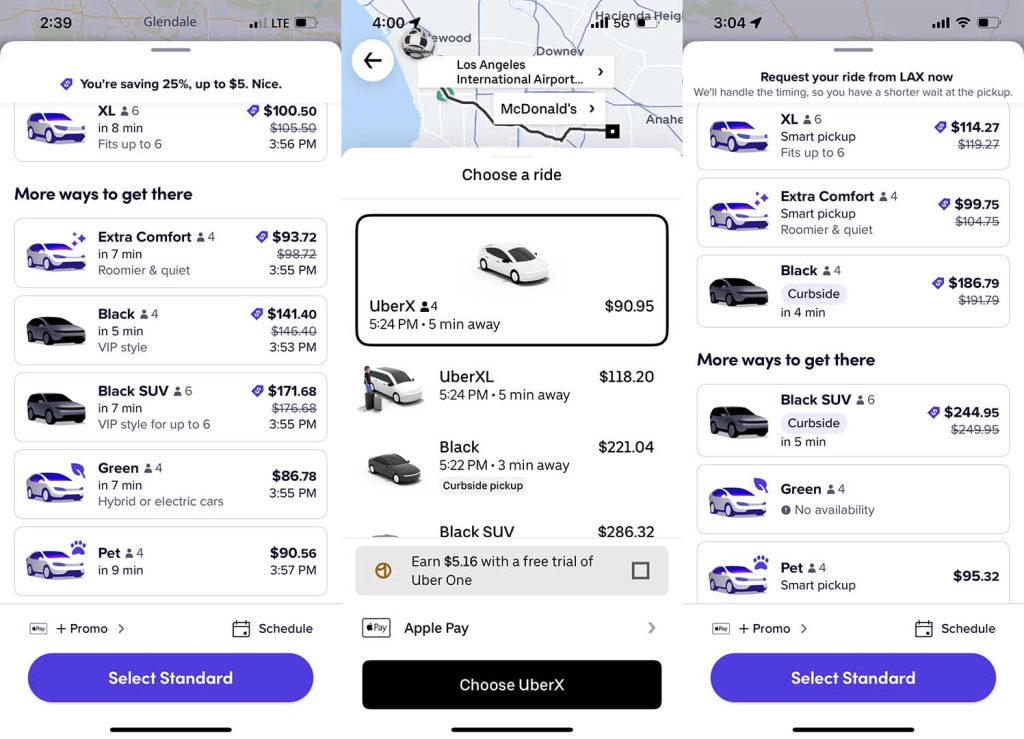
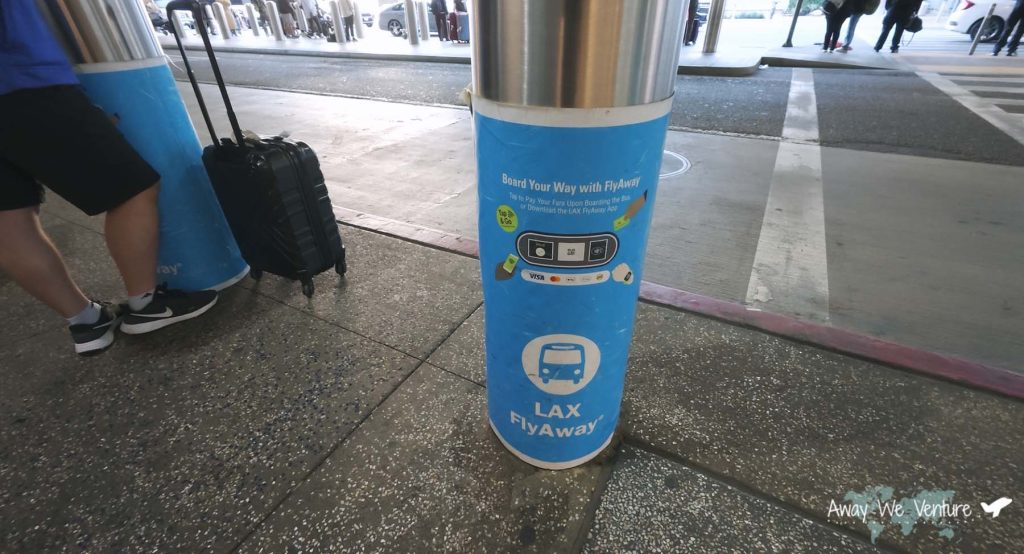
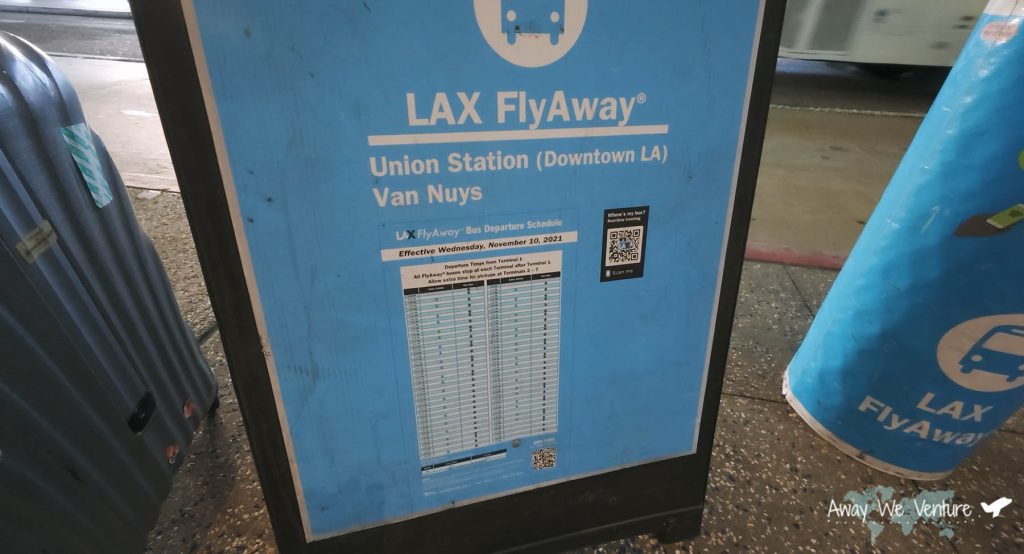
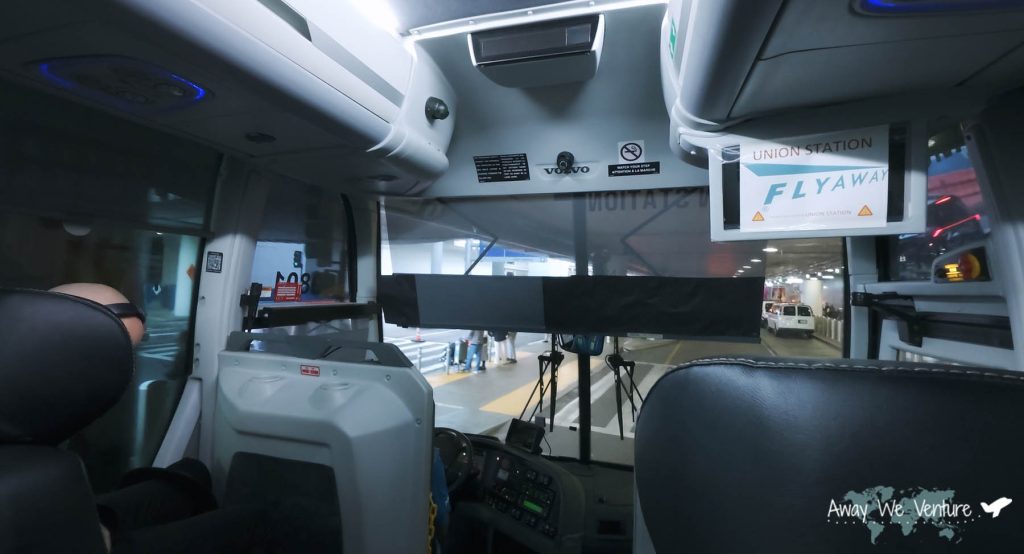
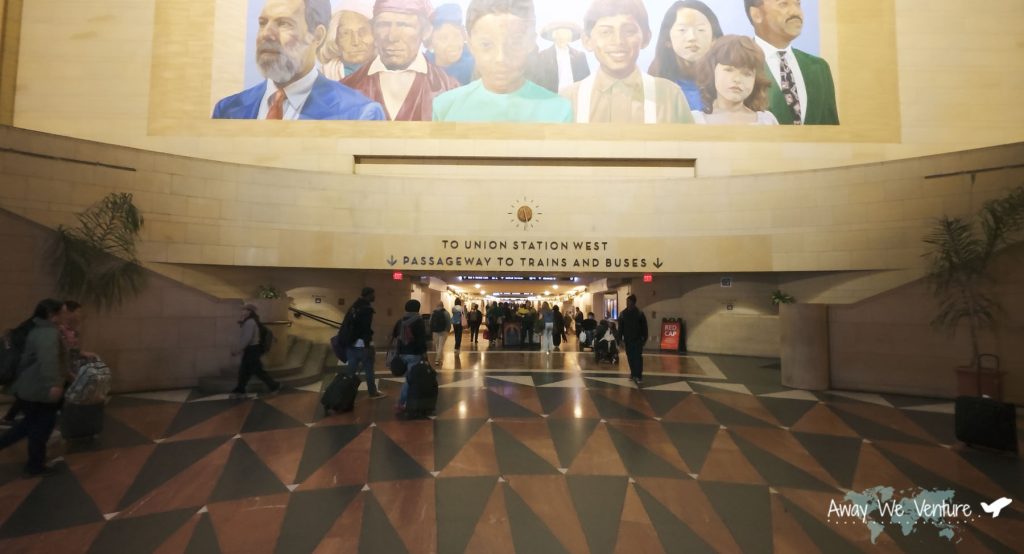
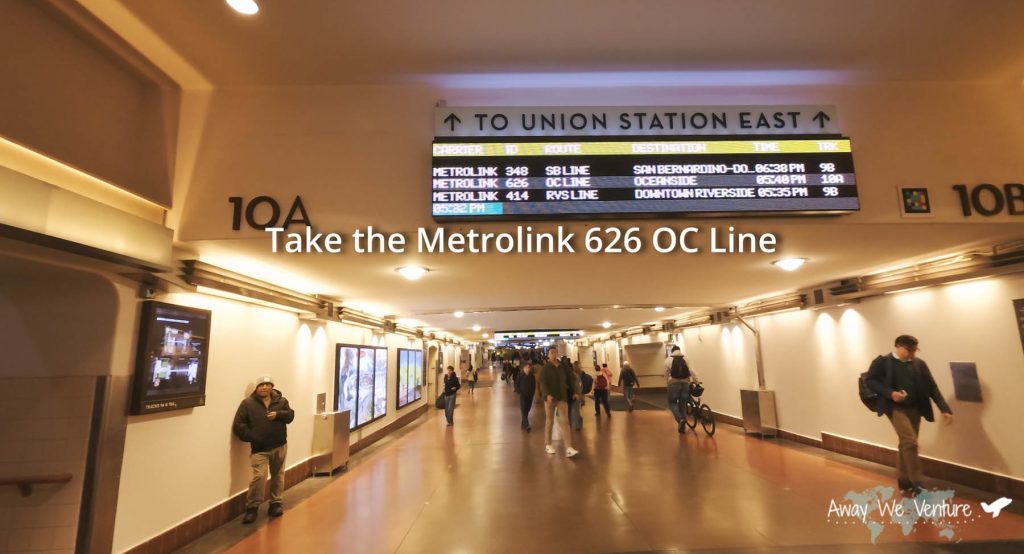
I wanted to try it for myself and to be able to report back as to how the process is. My previous blog posts had me taking the FlyAway Bus to Union Station and then the Metrolink to Anaheim ARTIC which got me closest to Orange County. The method I’m trying today will get me close enough to Orange County and would save me even more money and possibly time during rush hour. Once at Norwalk Station I would just take a UBER / Lyft to my final destination and not have to face the consequences of LAX Airport taxi prices.
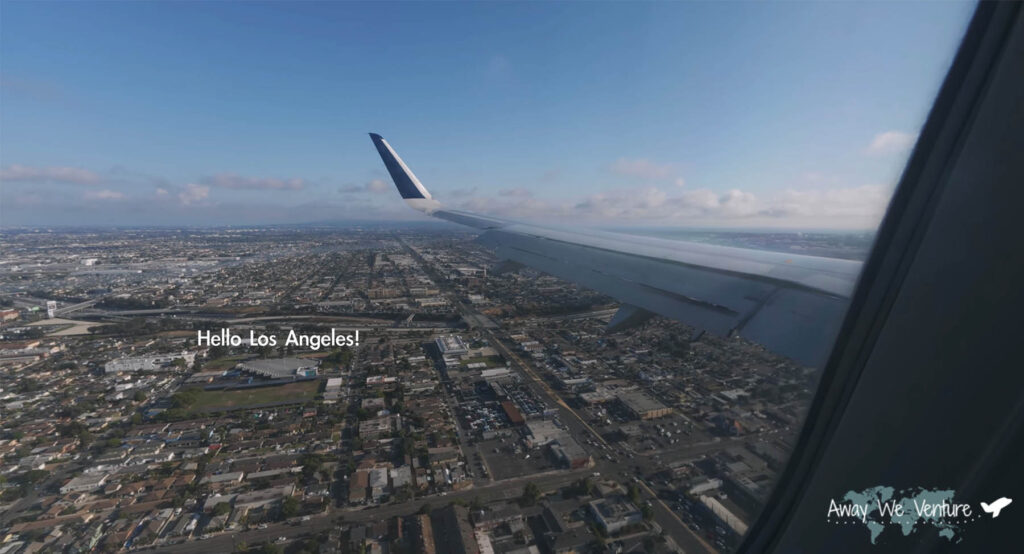
Arriving at LAX Airport
I decided to fly out of LAX Airport this time instead of John Wayne Airport (which is closer to me) because doing so would have resulted in a 4-5 hour unnecessary layover instead of a direct flight back home. My friends and I finished filming his feature length film and so we parted ways as I boarded my flight to LAX.
Step 1: Look for LAX Shuttles Sign or the Pink Column
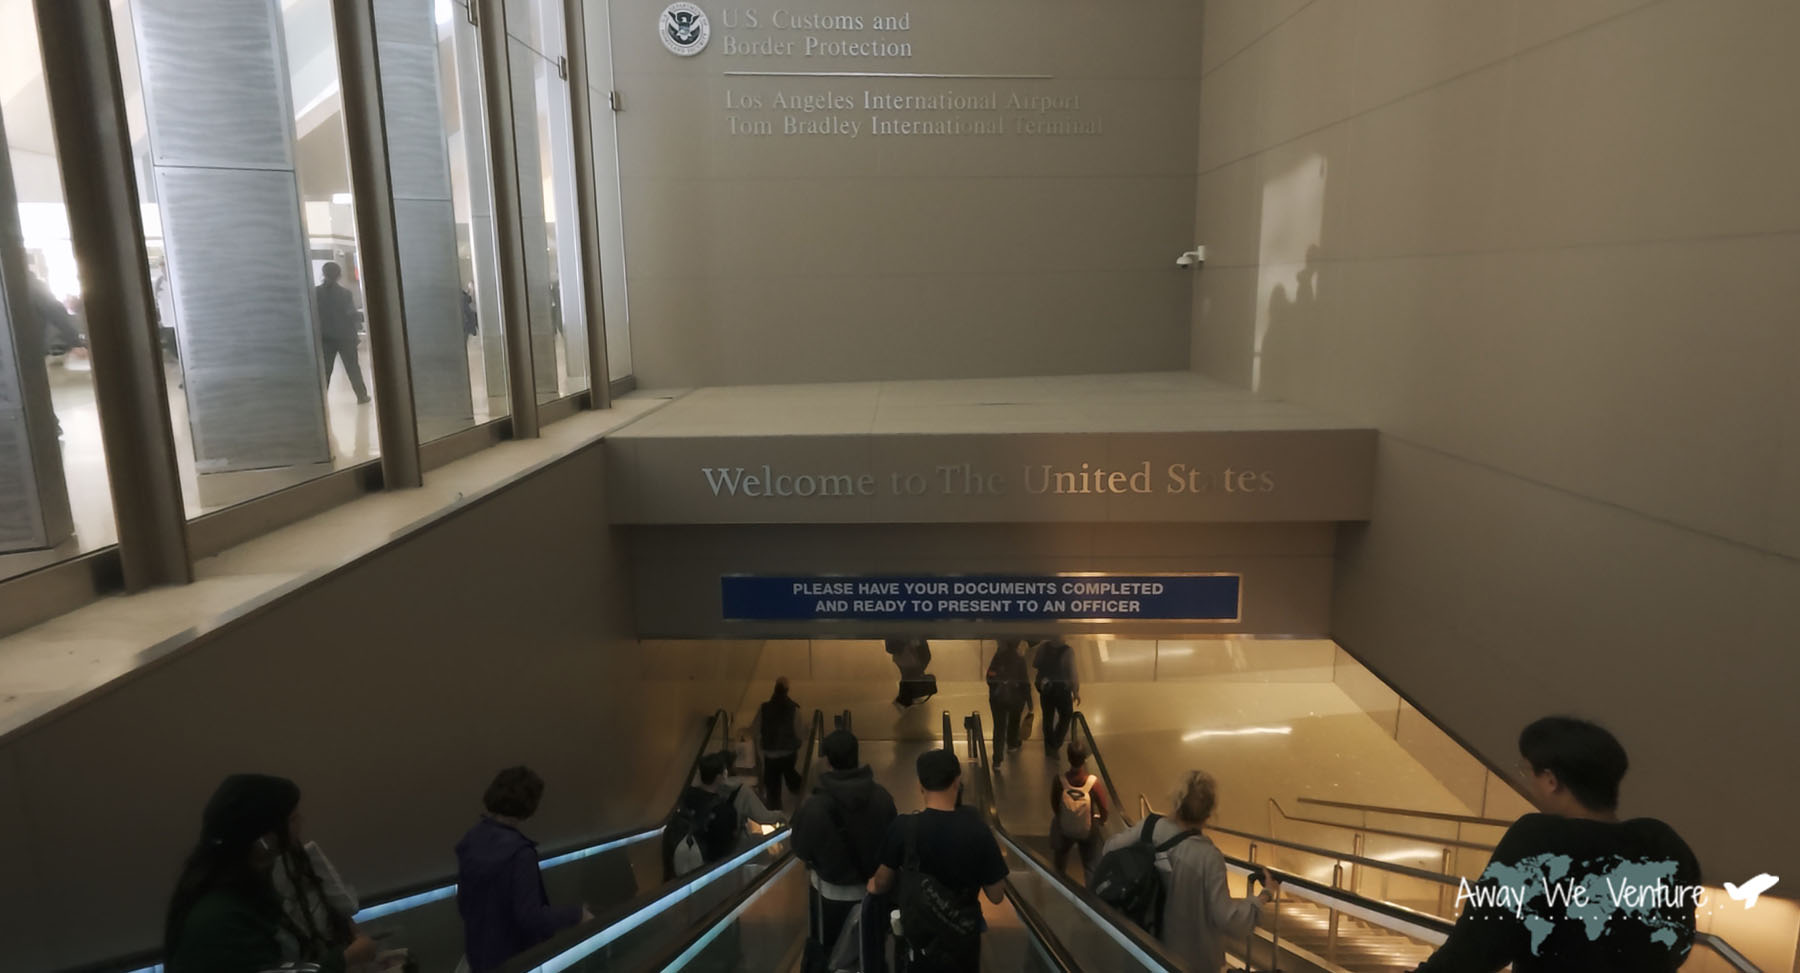
When you first arrive at LAX whether it be the domestic or international terminals, you’ll proceed to baggage claim and then exit. As you step outside in the domestic terminals the signs will direct you towards where to walk for easy access to the LAX Shuttles (Pink Column). This will be the way to get to the LAX Metro Transit Center until the LAWA Automated People Mover (APM) opens in 2026.
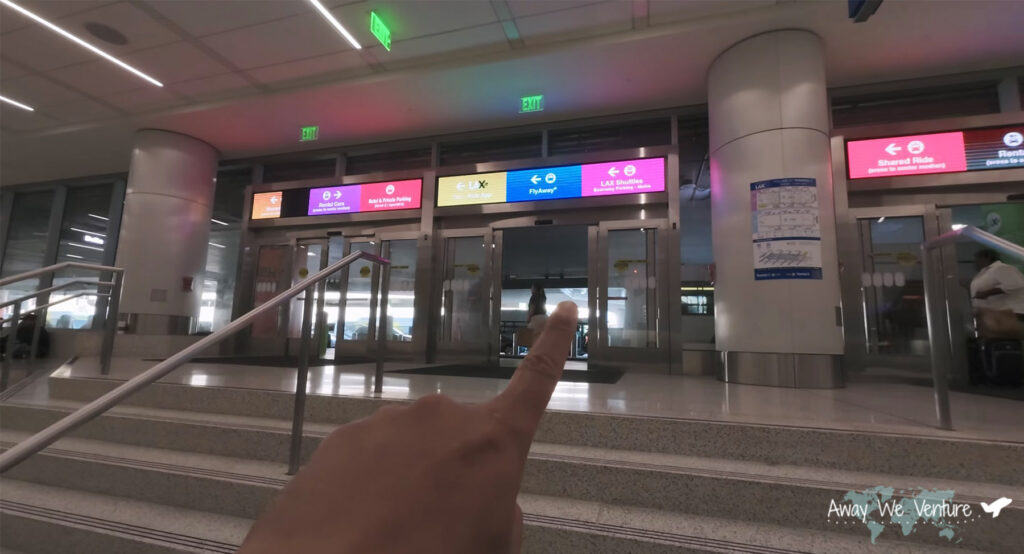
They aren’t necessarily hard to spot since the entire column is painted pink. Just don’t mistaken it for the green columns which is for the LAX-it (calling ride share taxis etc).
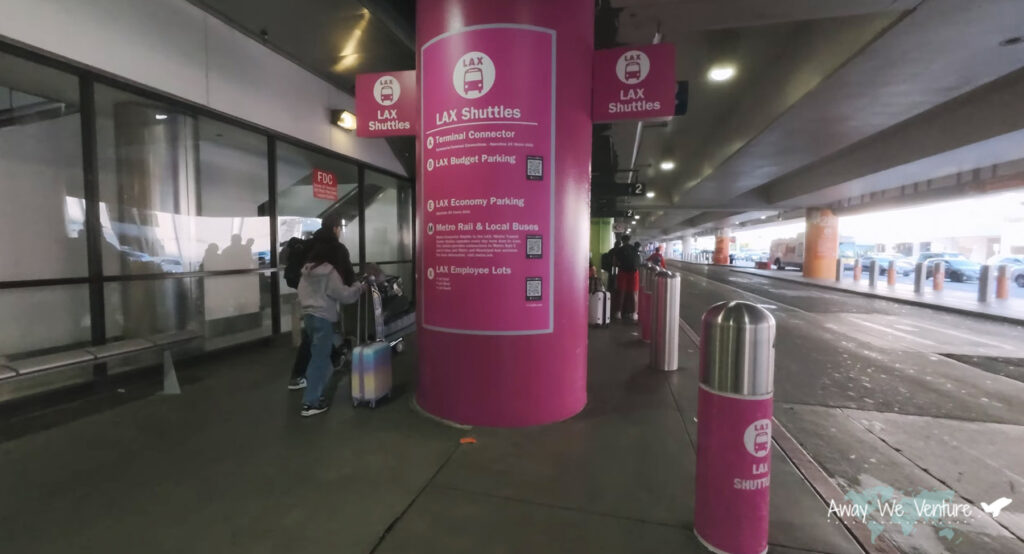
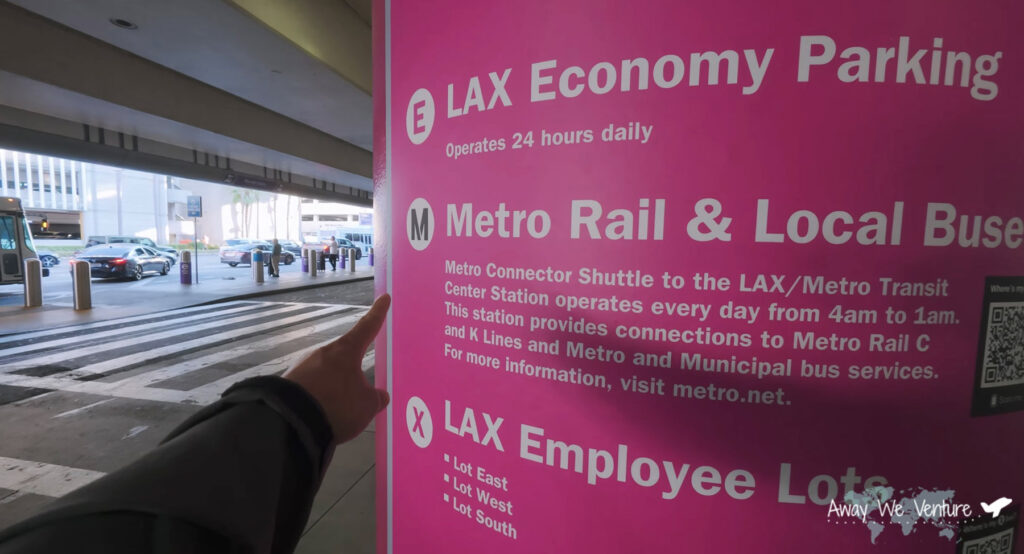
Make sure you see Buses with the Letter M that say LAX Metro Transit Center
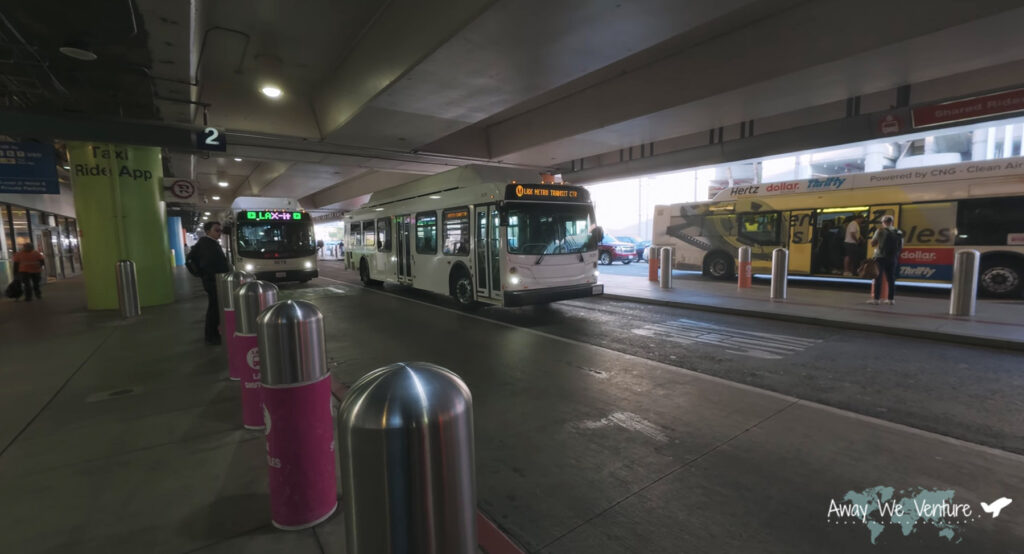
Boarding the Metro Connector Bus
Boarding the metro connector bus is completely free. They run pretty often so (every 15 minutes) if one is very full chances are the second bus is following behind it. I saw people rush into the first one and failed to see the second bus behind which literally was empty
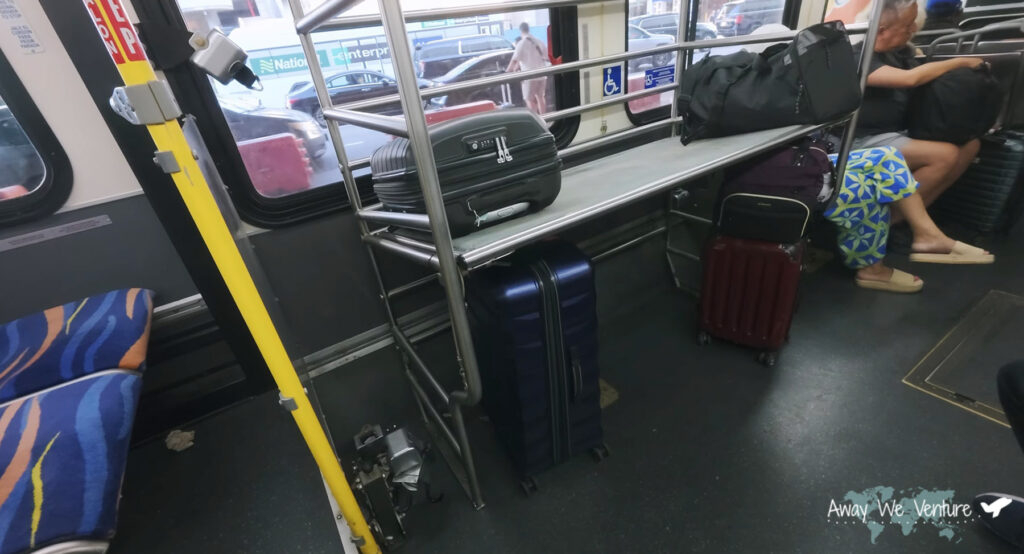
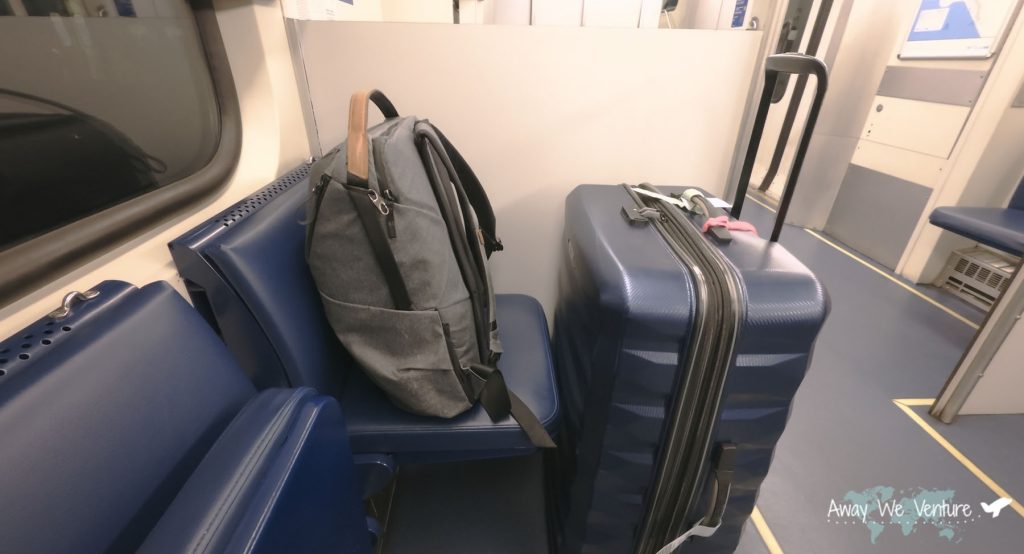
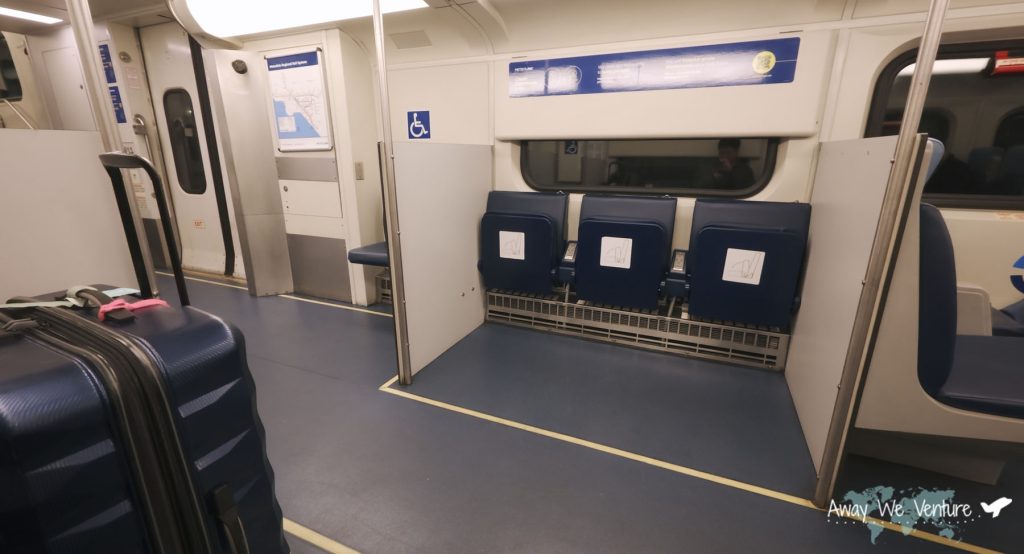
There will be luggage holding areas where you can actually leave your luggage while the bus is moving. Since there’s no rope to secure the bottom compartment its advised to watch your luggage in case it starts rolling everywhere. Another option is to lay it down on the floor sideways.
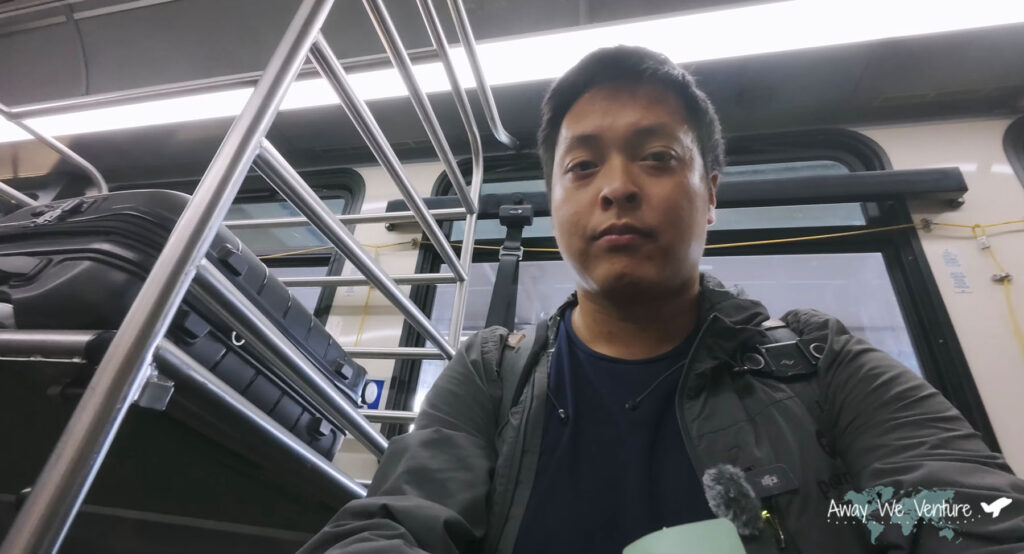
Surprisingly the bus was really only filled with airport workers taking the same train line going back home
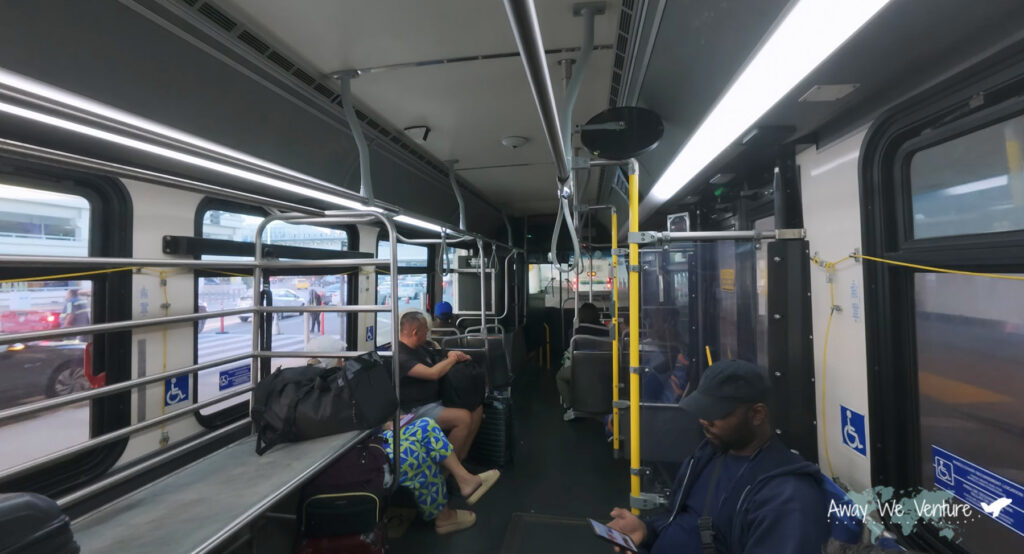
Step 2: Arriving at LAX Metro Transit Center Station
Once you take the connector bus the bus will have a special route inside the horseshoe loop so it’ll pretty much be able to drive and get to the transit center around 5-10 minutes.
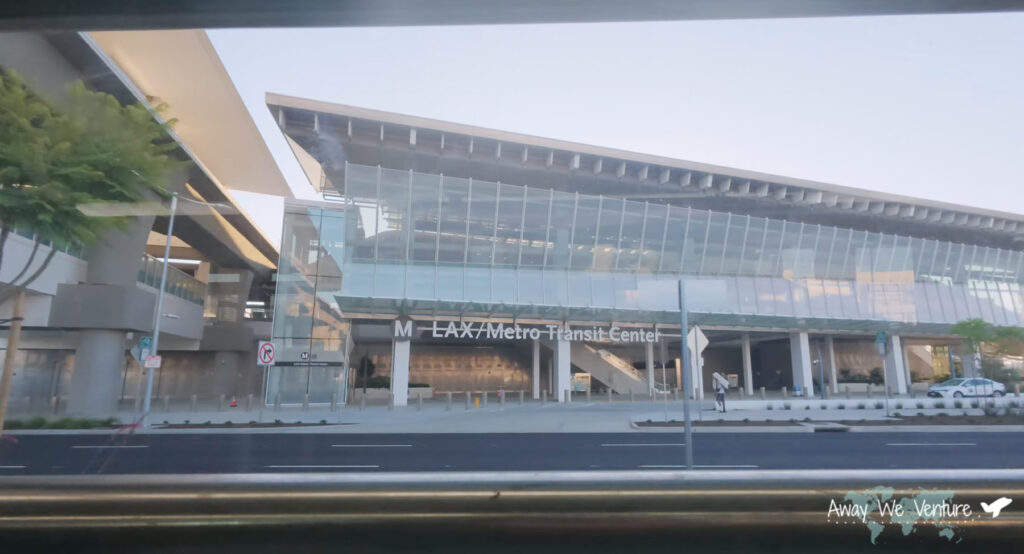
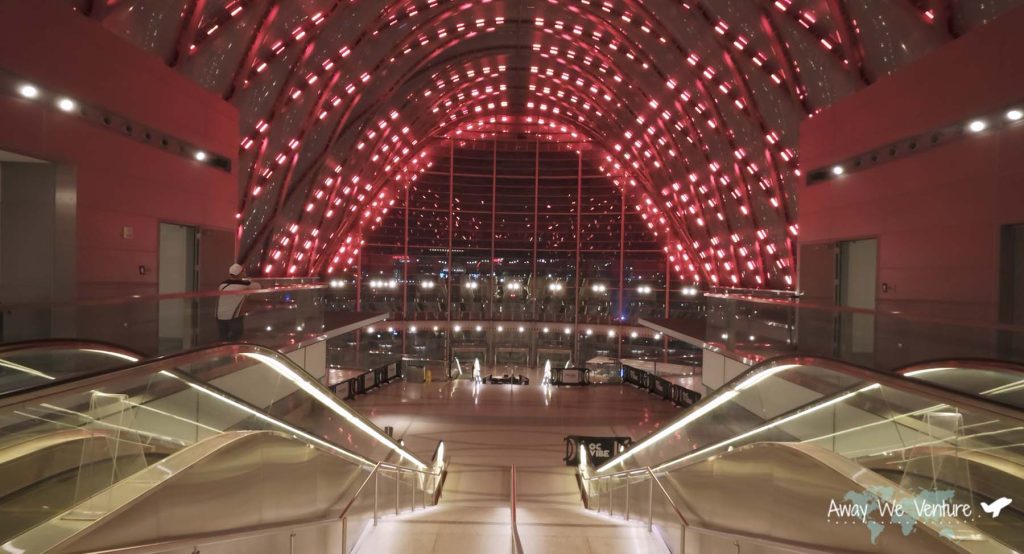
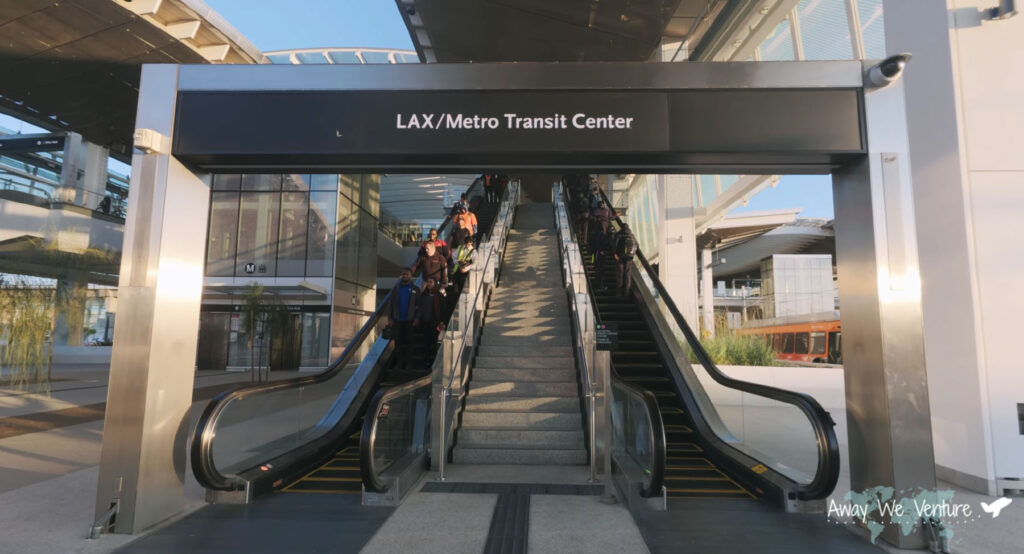
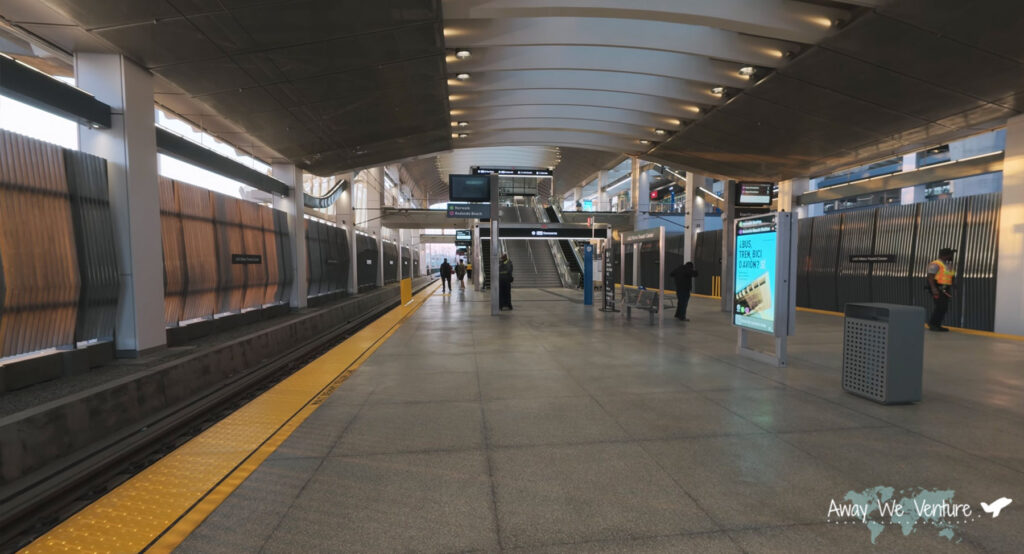
Once you arrive you can proceed upwards towards the escalators to the metro trains. But before you do there’s something you should check out before if you’ve got time!
Venhub – Robot Vending Machine / Convenience Store
There aren’t many self-automated robot vending machines in California. This is one of the first. And I feel that once the APM starts operating and this LAX station is the first station travelers from all over the world see when they first land it’ll be super busy. The robot convenience store makes the most sense because it would be open at all hours of the days especially if people arrive on midnight flights.
At the time of writing the prices have increased by double for almost everything. Before a can of pringles was $1.49 and now its $2.99. It’s still cheaper than airport food court prices so that’s still a plus.
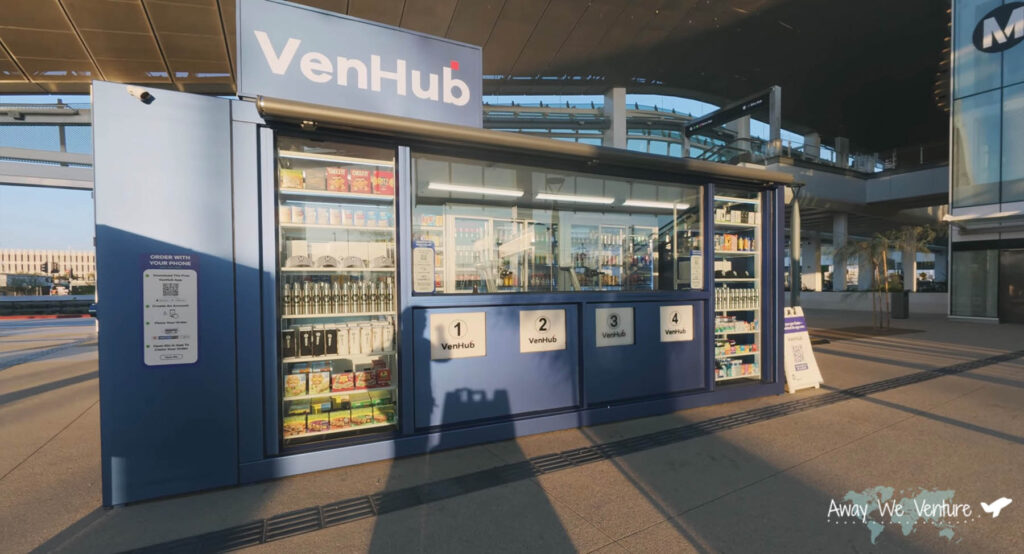
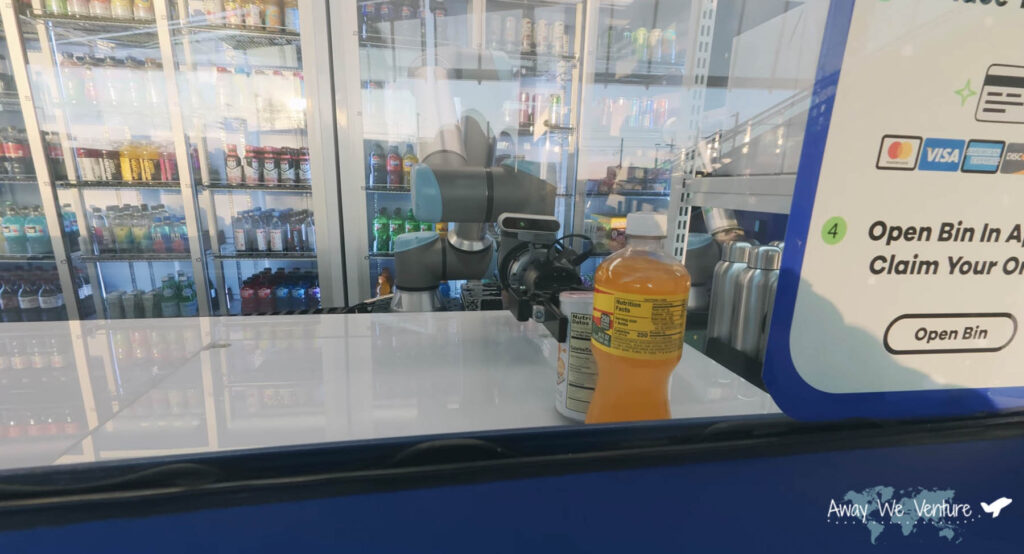
In order to place an order you’ll have to use the Venhub app on both Android and iOS devices. It can take Google Pay / Apple Pay which made it super convenient.
Step 3: Paying for Metro Trains
Once you head up the escalators and walk down to where the train station is you’ll see an area where you can purchase physical metro cards. You can even ask customer service for help getting to your destination, but from what I remember they close pretty early at like 4pm so maybe by the time you get there it might be closed. That was the case for me so I decided to opt to pay using Apple Pay.
Since I already had an old metro TAP card I had to transfer it over from a physical card to a wallet tap card. But I’ll detail the process on how to buy a digital card if you don’t want to use a physical one.
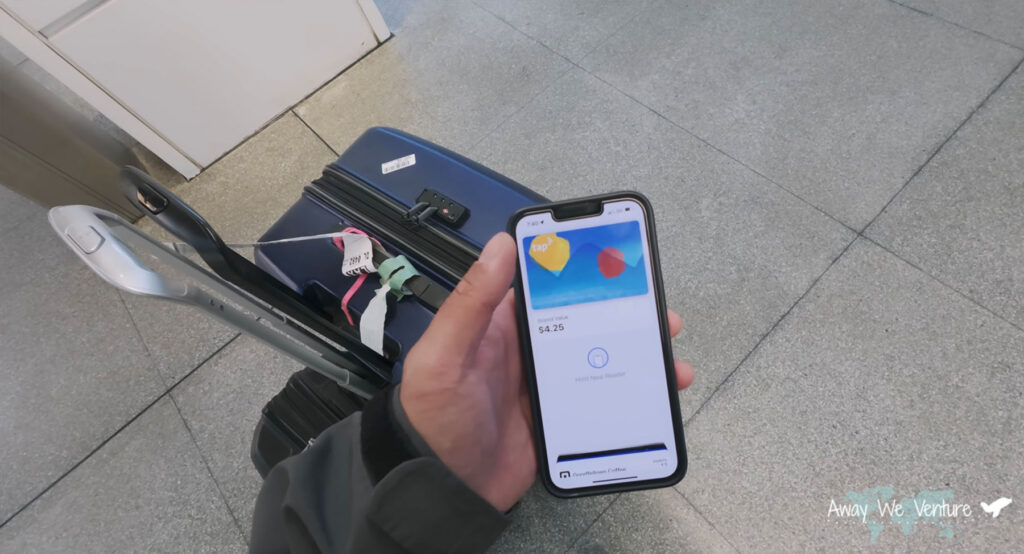
Apple Devices: Apple Wallet > Add to Wallet > Transit Card > TAP (Greater United States)
Through apple wallet you can load how much you want and charge by apple pay.
Be sure to enable Express Transit. Settings > Wallet & Apple Pay > Express Transit Card > TAP (make sure its highlighted green to enable)
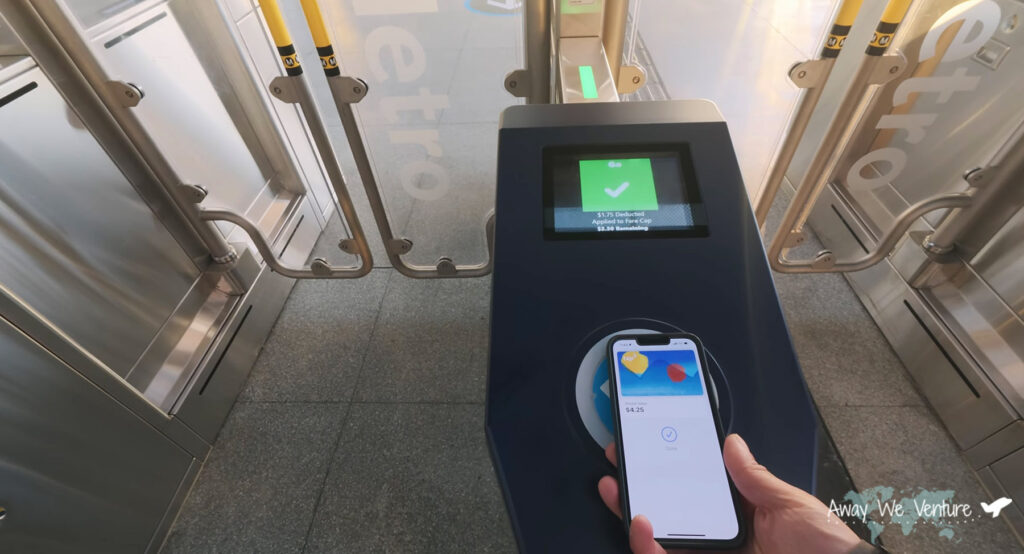
Once done you won’t have to open up the wallet app and you can just point your phone at the terminal and it’ll auto deduct from your TAP card.
Android Devices: Search on the App Store for TAP > Download & create account > Add Tap Card on your Phone > Load money using google pay. Now you’ll see a picture of a TAP card and you just hold it next to the terminal to pay for it.
The reason to use these digital cards instead of the physical cards is that when you use a digital card you don’t incur a setup fee since its a digital card. Saving you $2.50
📍Los Angeles Metro C Line to Norwalk
Price: $1.75 (one way)
Payment Methods: Apple Wallet , TAP app on Android
Estimated Duration: 36 minutes (depending on train delays)
Afterwards you just pretty much place your phone near the reader and the gates will open.
Step 4: Boarding the Train
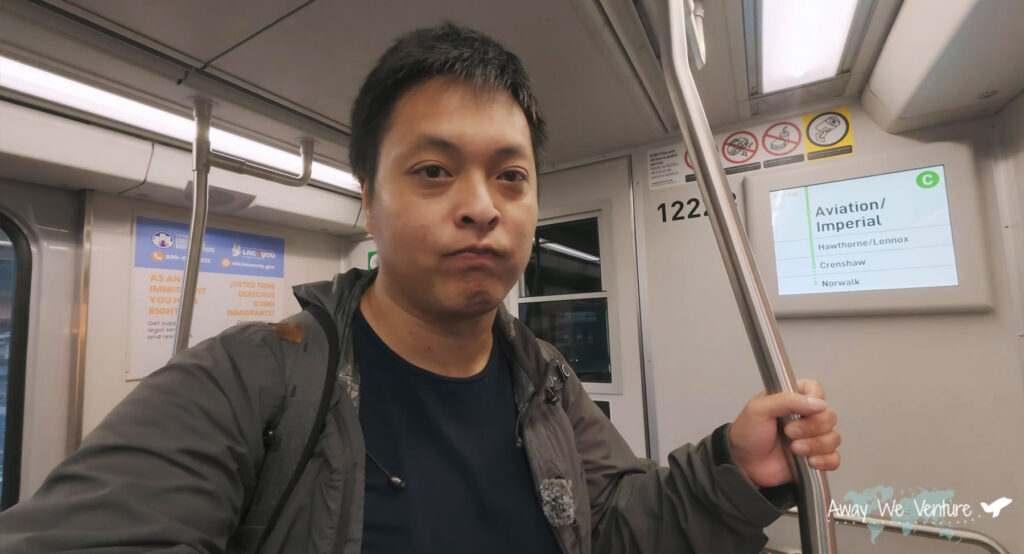
You’ll want to take a look at the signs and take the Green Line Train whose last stop is Norwalk Station. It’s a straight train ride that takes approximately 36 minutes. During California rush hour times the train will reach Orange County the fastest.
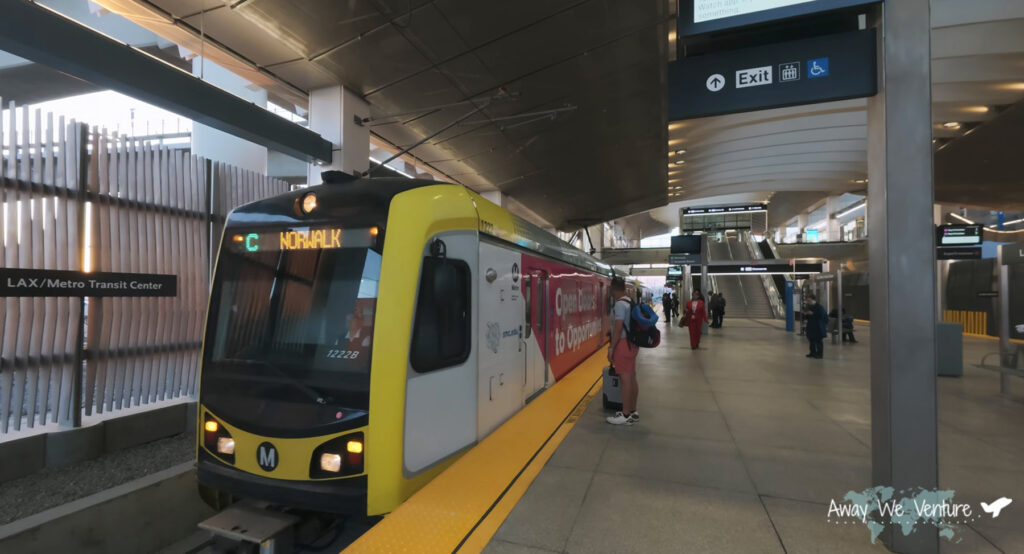
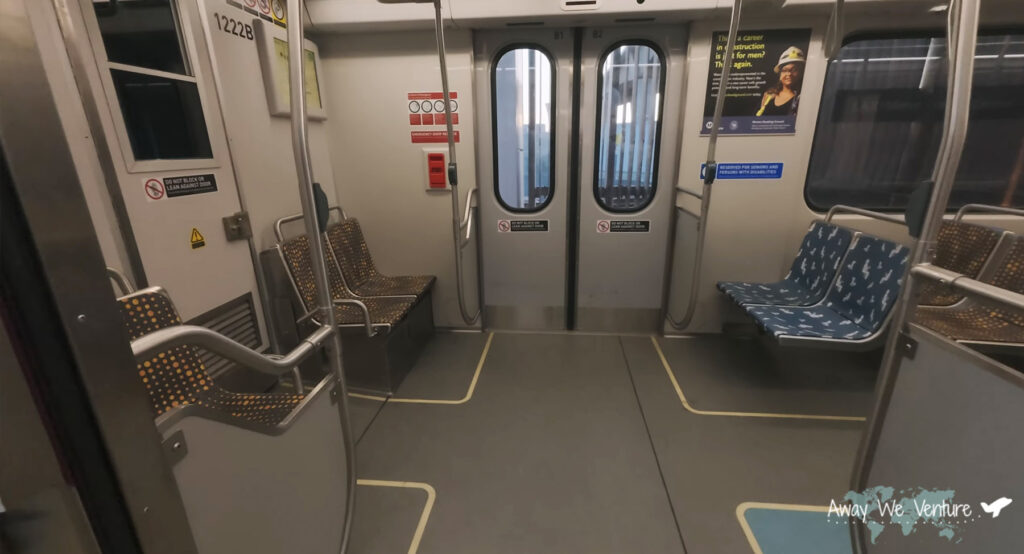
Since the train is driving to the left. If you want to be in a safer carriage then I would suggest sitting to the very left carriage since that’s where a human train operator is. It’s usually the safest part of the train.
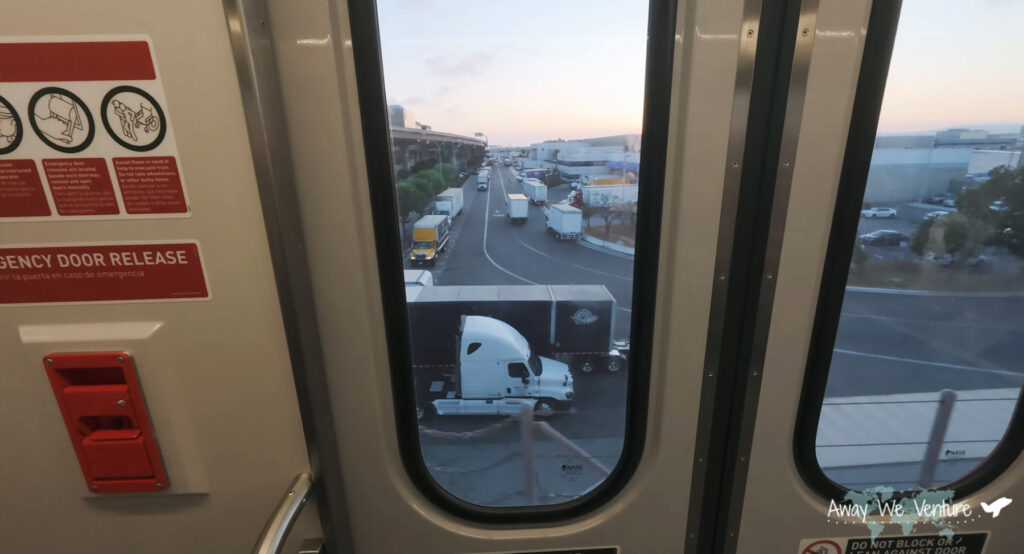
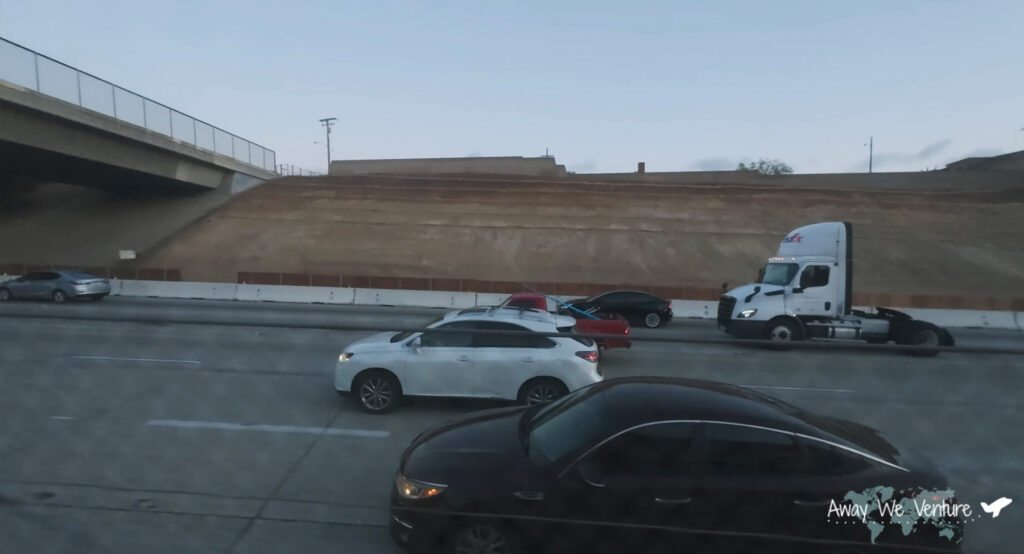
Step 5: Arrival at Norwalk Station
After a 36 minute or so train ride on the C Line you’ll reach the Norwalk Station entrance. From there you can take the escalator up. I found it was doable with my big checked luggage and carry on depending on how you position them. But if you need the elevator there’s one located further from the escalator on the side.
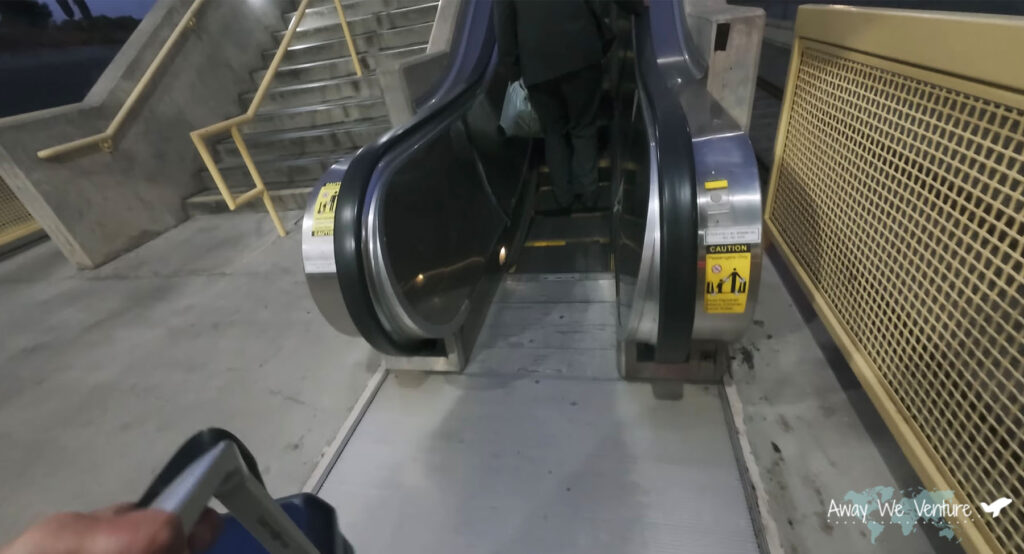
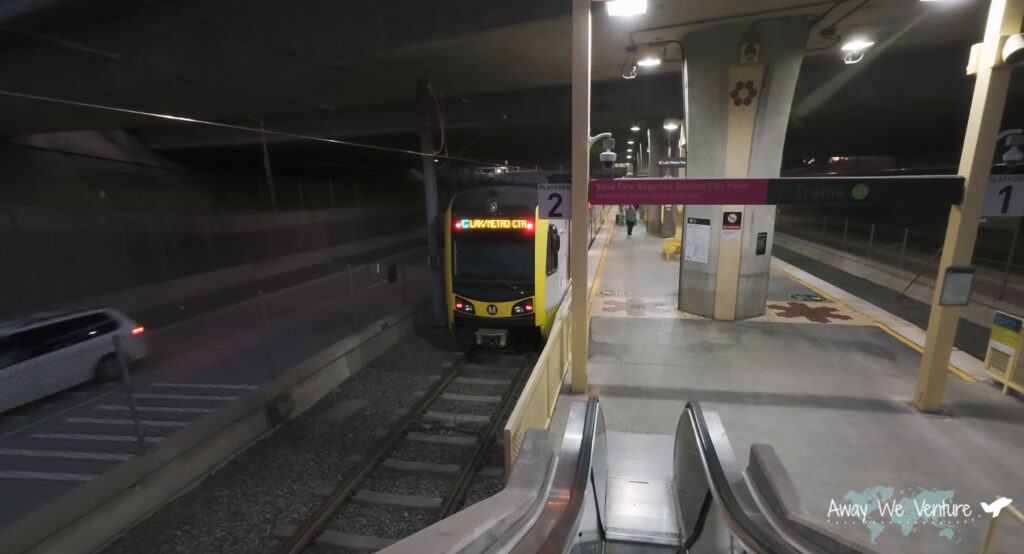
You can immediately just walk out. There’s no need to tap out again. The gates will automatically open.
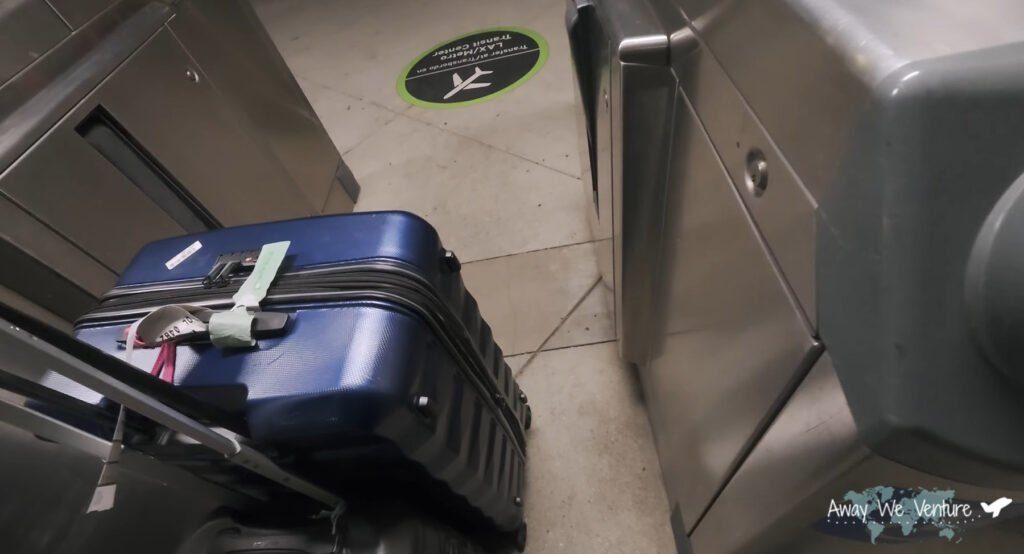
From here you have a couple options depending on your destination. For me I wanted to take an Uber/Lyft from this station because it made the trip to my final destination around $24 as opposed to from the airport where it was close to $100. For a solo traveler that rate doesn’t make sense for me.
- Uber / Lyft to your destination. Cheaper since you’re already in Orange County.
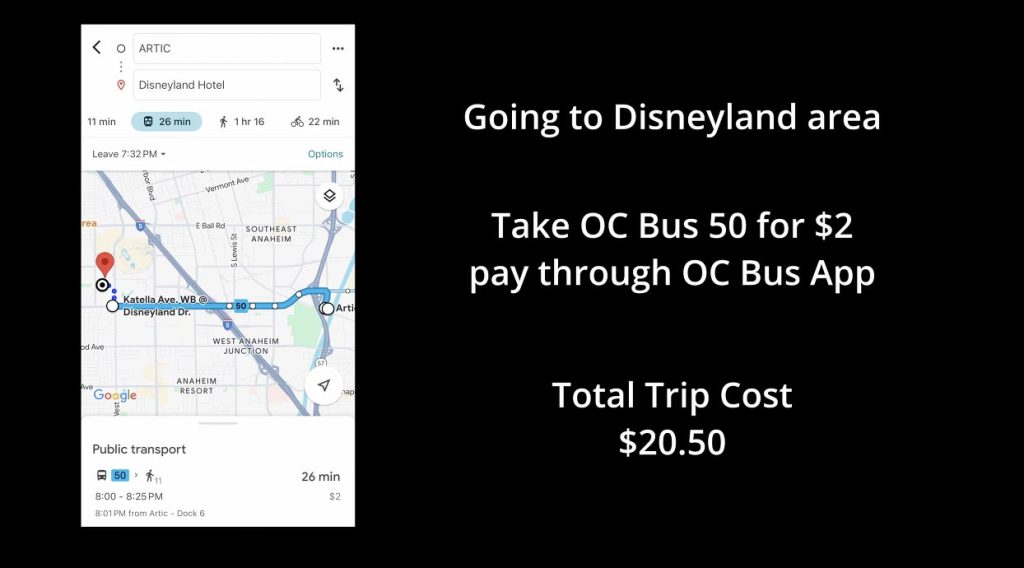
- Disneyland by Bus: Pay with OC Bus App. Take Bus 460 towards Disneyland
Cost: $1.75
Time: 1 hr 18 minutes
With that being said, I hope you found this guide helpful and safe travels if you’re visiting my state of California!

